In the mobile version of Sales Navigator, you access your saved lists by tapping the Lists icon (it’s the one with three dots and three lines) that appears in the menu bar on the bottom of your screen. Doing so takes you to a Lists screen.
Adding and editing tags and notes in the Sales Navigator app
Sales Navigator lets you add tags and notes to your saved leads to help you keep your account organized. Tags put leads into groups that can help you find what you need fast. Notes are ways to store information about leads, such as the last time you touched base with them or the types of content they respond best to.To add tags to a lead in the Sales Navigator app, follow these steps:
- From the lead’s LinkedIn profile page, tap the “+ Add new tag” link in the center of the screen.
If you’ve created tags before, those tags appear on the next screen with check marks next to them. If you have not created any tags before, you only see the six tags Sales Navigator provides: Customer, Decision Maker, Follow Up, High Priority, Influencer, and Opportunity.
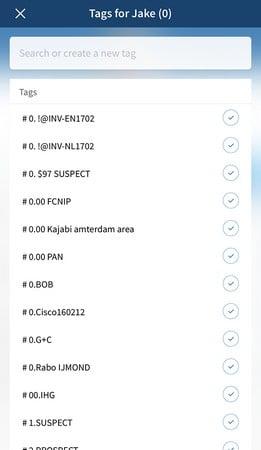 Select tags from the existing list or create a new tag.
 - Select all applicable tags or create new tags by typing the desired word into the empty box at the top and tapping the plus sign ( + ) that appears.
- If you decide you want to edit or delete tags from your existing list, tap the name of the tag and then tap the circled check mark to uncheck it.
If you decide you want to remove other tags as well, you can do it at this time.
- When you are finished adding tags, tap Save that appears at the top-right of the screen.
You are taken back to the lead’s profile page.
- From the lead’s LinkedIn profile page, tap the “+ Add new note” link in the center of the screen.
A blank screen appears where you can start typing your note. You have enough space for 512 characters.
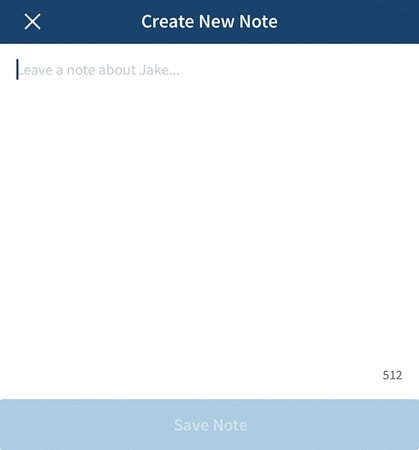 Add a new note here.
 - When you’re finished typing the note, tap the Save Note button that appears at the bottom of the screen.
You are taken back to the lead’s profile page, and the note appears under the notes section.
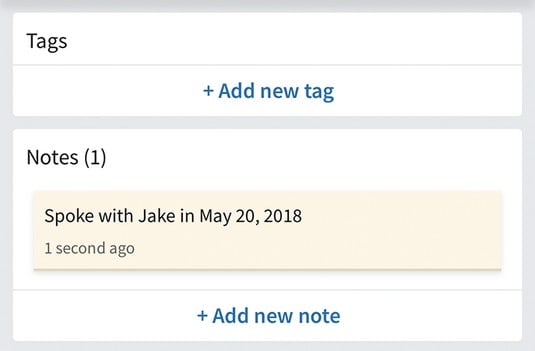 An existing note on a profile page.
 - To edit a note, tap the note on a lead’s profile page.
You are taken to the note’s home page.
- Tap the pencil icon that appears on the right side of the note to bring up the editing screen.
Tap the Save Note button when you are finished editing to return to the lead’s profile page.
Sending and checking messages in the Sales Navigator app
Another helpful feature of the Sales Navigator mobile app is the capability to send and receive LinkedIn messages directly within the app. While typing lengthy messages on a mobile device isn’t the most convenient method of communication, it’s available in case a lead has a time-sensitive question, for example.To access your LinkedIn messages, tap the Messages icon that appears in the menu bar on the bottom of your screen. When on the Messages screen, you can search for a person or message by typing that person’s name or a keyword into the search box at the top of the screen. You can also filter your messages by Pending, Archived, Sent, and Unread by tapping the icon that looks like three dots and three lines in the top-right portion of the Messages screen. If you want to compose a message, tap the pencil and paper icon that appears above the filter icon in the top right of the screen.
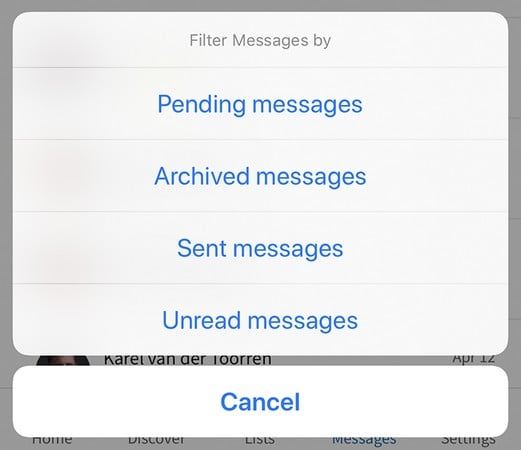 Filter your messages.
You can also send a message directly from the person’s profile.
Once you’re on the New Message screen, either search for the person you want to message by typing that person’s name in the search bar at the top (if you didn’t initiate the message from that person’s profile) or just start typing your message in the big empty box on your screen.You’ll notice three small icons at the bottom of the message box: a photo, a camera, and a lightbulb. The first two icons may be familiar to you. They let you attach a picture or take a picture to attach to the message. The third icon may be a little different from what you’ve seen before, however. Tapping the lightbulb icon brings up the current employment information of the person to whom you’re writing. This could be helpful if, for example, you need something to spur your memory about a past conversation you had with the recipient.
If you swipe to the left in the New Message screen, you’ll see a box showing the connections you and the recipient have in common. Tapping inside this box expands the list of shared connections. If you swipe left once more, you’ll see any LinkedIn Groups you and the recipient may have in common. Using the information in these boxes is a great way to break the ice with a prospect.