Images with quotes and text are popular visual social marketing tools. The reason is that the text in the image can clearly communicate the message, though the visual design makes the content stand out. The term presentation software refers to software, such as PowerPoint and Keynote, that is typically used to create presentations.
Presentation software was built to make text content more visually appealing and engaging during a presentation, which makes it ideal for creating visual assets.
Creating visual assets in presentation software is a good idea because most computers already have this software. Also, it's quick and easy to use, and you can incorporate your branding.
Using presentation software for visual assets is appropriate when the image you're trying to create includes text such as a few key points, a tip, or a quote.
To create an image from presentation software, follow these steps:
-
Open your presentation software and select a theme.
If you have for your business a customized theme that is visually appealing and represents your brand well, you may choose to start with that theme. Otherwise, browse the theme options in the software until you find a theme that can bring your idea to life in an interesting way.
-
Create a presentation.
After you create a presentation, you see a square slide with the theme you selected applied to it.
-
Drag, drop, and edit text on the screen.
After your canvas (the slide) is created, add a text box to the slide. Experiment with fonts, font sizes, and color schemes until the slide looks “just right.” You can also add images to the slide to make it more interesting.
The slide appears much smaller when you share it on social media, so create one that can be viewed in a smaller size with legible text.
-
Export the slide as a JPG file.
Depending on the presentation software you're using, you may be able to export the slide as a JPG file by selecting Export from the File menu. After choosing Export, you see the Export As a JPG option. If you don't see it, follow Step 5.
-
Take a screen capture of the image.
If your presentation software doesn't allow you to export to a JPG file, you can take a screen shot of the slide instead to be saved as an image. Depending on the type of computer you use, different steps lead to taking a screen shot. Look in the manual for your computer to see how to take a screen shot.
-
Upload to your favorite social network.
You're now ready to share your image on social media!
This simple strategy makes it easy to create custom images for your visual social marketing strategy. The person who runs the site Girlfriendology uses this approach to make quote images, which are images with quotes overlaid. She has a custom presentation theme showing her branding, and then she creates her quote images in presentation software.

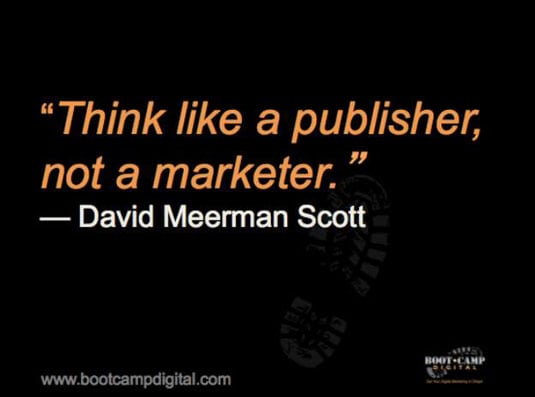
Boot Camp Digital also uses this strategy to create quote images. They’ve customized their standard Boot Camp Digital branded template, which they use in presentations, to create visual assets for their social media quotes.
This approach to creating visual assets can extend beyond simply text images. You can import a picture into a presentation software slide (by either choosing Insert→Photo from the main menu or dragging the photo to the slide from your file viewer) and adding text to the image.
After the image covers the entire slide, add a text box on top of the image to add text to any photo. Adding text can make any image pinnable, because the text can describe what the image is about. You can do this with images that you take yourself and with photos that you purchase from stock photography sites.

After you place the text box on top of the image, experiment with its size, font, color, and placement until the image looks interesting and relevant.