
Amazon has a tendency not to tell you about any service costs; those costs just suddenly appear on your credit card statement. The following steps help prevent that scenario from happening:
- Choose my Account→ My Billing Dashboard and log in to the system if necessary.
You see the Billing & Cost Management Dashboard.
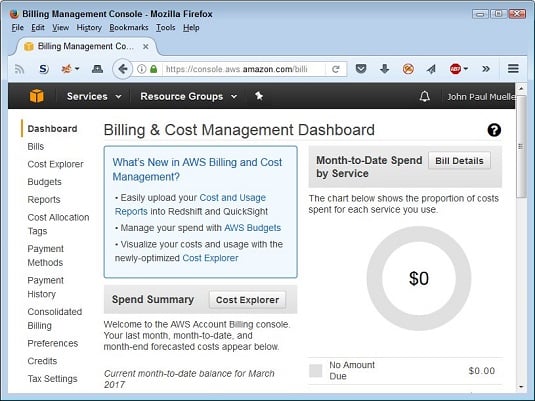 The Billing Management Console lets you manage settings for your AWS account.
 - Click Preferences on the left side of the browser window.
You see a list of billing information preferences.
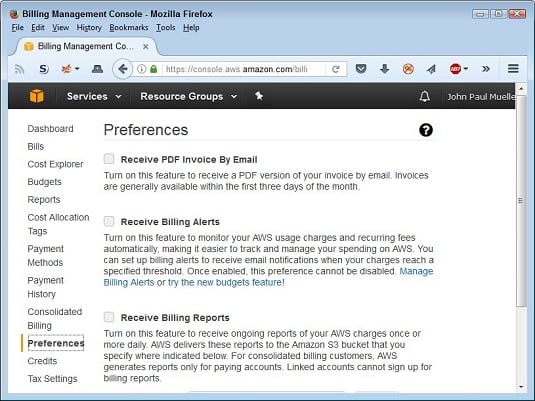 Configure your billing preferences to ensure that Amazon talks to you about costs.
 - Select Receive Billing Alerts and then click Save Preferences.
You see a message stating that AWS saved your preferences.
- Click Manage Billing Alerts.
Halfway down the page, you see the Alarm Summary section.
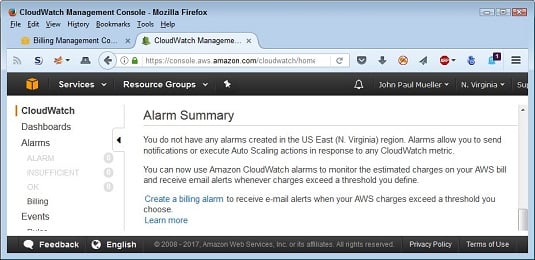 Create an alarm to tell you about any charges.
 - Choose Alarms\Billing on the left side of the display.
You see the Billing Alarms page. Note the third paragraph, which tells you the number of free alarms and email notifications you receive each month. It’s possible, though not likely, that you could get an alarm billing for the courtesy of a notification about getting billed for another service.
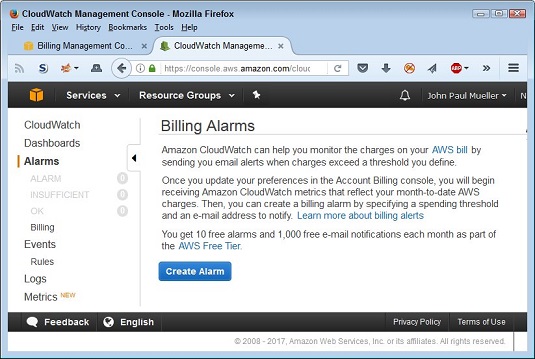 Choose a metric to monitor.
 - Click Create Alarm.
You see the Create Alarm dialog box. Use the fields in this dialog box to determine the level at which you get informed about charges and the email address used to inform you.
 Provide the information needed to create the alarm.
 - Enter an amount in the Exceed field.
Entering a value of 0.01 ensures that you get alerts whenever Amazon adds a charge to your account. (You know about the charge after Amazon adds it, but knowing about the charge lets you make changes so that you don’t keep accumulating additional charges.)
- Type an email address in the Send a Notification To field.
The default display uses an email address. Click the Show Advanced option to obtain other notification options. For example, you can create a notification list, rather than send the alarm to just one person.
- Click Create Alarm.
In most cases, you see the Confirm New Email Address dialog box. The alarm isn’t active until you confirm the email address, but you don’t have to do so immediately. If you don’t confirm the email address in 72 hours, Amazon cancels the alarm.
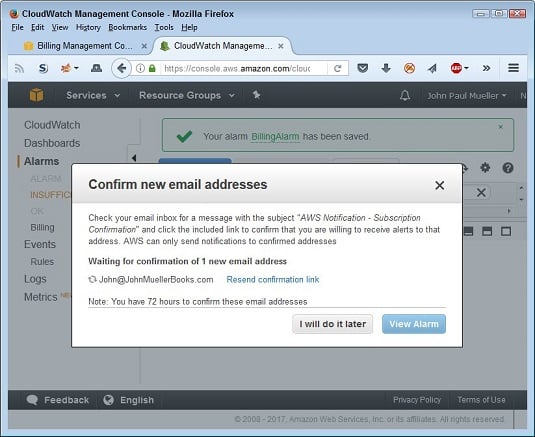 Confirm the email address you want to use.
When you do confirm the email address, you see a page stating that the subscription is confirmed. It also provides you with the topic number for the subscription, and you see a link for unsubscribing to the notification when necessary.
After the email is confirmed, the dialog box changes to show the change in status. You see a message that AWS is waiting for the confirmation of 0 new email addresses.
- Click View Alarm.
Amazon begins notifying you whenever it charges your credit card for any amount exceeding the threshold you set. To verify that the alarm is set, choose Alarms\OK. You should see the alarm with a blank Config Status field (showing that you confirmed the alarm).
You must explicitly close your account when you finish using it. To close your account, choose My Account → Account Settings. Log in to the system, if necessary. At the bottom of the first page you see is a Close Account section. Click Close Account if you’re certain that you’re done using AWS. The same page has a Cancel Services section, in which you can cancel services you no longer need. This is a good option to use if you come to the end of the 12-month free-usage period and decide you want to continue working with services that don’t have an expiration date.