
- Sign into AWS using your administrator account.
- Navigate to the EC2 Console.
You see the page shown. Notice the Navigation pane on the left, which contains options for performing various EC2-related tasks. The Resources area of the main pane tells you the statistics for your EC2 setup, which currently includes just the one security group.The EC2 Console tells you all about your current EC2 configuration.
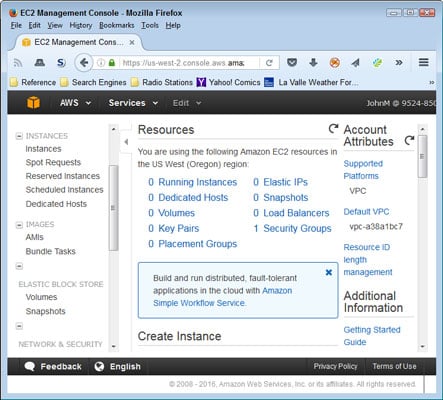
- Choose a EC2 setup region from the Region drop-down list at the top of the page. The example uses the Oregon region.
- Select Volumes in the Navigation pane. The EC2 Console shows that you don't currently have any volumes defined.
- Click Create Volume.
You see the Create Volume dialog box, shown in the following figure. Notice that you can choose a volume type and size, but not the Input/output Operations Per Second (IOPS) or the throughput, which are available only with certain volume types. The Availability Zone field contains the location of the storage, which must match your EC2 setup. The Snapshot ID field contains the name of an S3 storage location to use for incremental backups of your EBS data. You can also choose to encrypt sensitive data, but doing so places some limits on how you can use EBS. For example, you can't use encryption with all EC2 instance types.A new volume displays all pertinent statistics, such as the size and speed.
- Click Create.
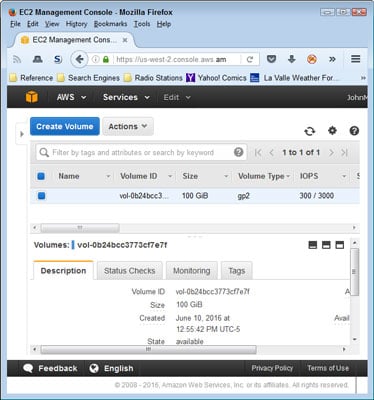
AWS creates a new volume for you and displays statistics about it, as shown. The new volume lacks any sort of backup. The next step configures a snapshot that AWS uses to perform incremental backups of the EBS data, reducing the risk of lost data.
- Choose Actions→ Create Snapshot.
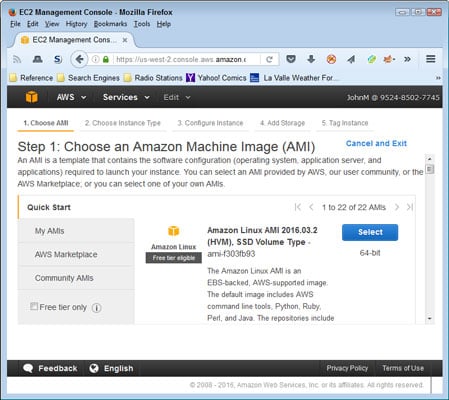
You see the Create Snapshot dialog box. Notice that AWS fills in the Volume field for you and determines the need for encryption based on the volume settings.To start an instance, you must select one of the available AMIs.
- Type EBS.Backup in the Name field, type Test Backup in the Description field, and then click Create. You see a dialog box telling you that AWS has started the snapshot.
- Click Close. The volume is ready to use.