The Hue/Saturation command in Photoshop Elements enables you to adjust the colors in your image based on their hue, saturation, and lightness. Hue is the color in your image. Saturation is the intensity, or richness, of that color. And lightness controls the brightness value.
Follow these steps to adjust color by using the Hue/Saturation command:
In either Edit Full or Edit Quick mode, choose Enhance→Adjust Color→Adjust Hue/Saturation.
The Hue/Saturation dialog box appears. Be sure to select the Preview check box so that you can view your adjustments. Note that this command is also available in Guided mode.
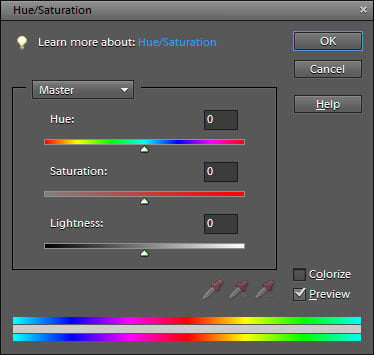 Adjust hue and saturation in the Hue/Saturation dialog box.
Select all the colors (Master) from the Edit drop-down menu or choose one color to adjust.
Drag the slider for one or more of the following attributes to adjust the colors as described:
Hue: Shifts all the colors clockwise (drag right) or counterclockwise (drag left) around the color wheel.
Saturation: Increases (drag right) or decreases (drag left) the richness of the colors. Note that dragging all the way to the left gives the photo the appearance of a grayscale image.
Lightness: Increases the brightness values by adding white (drag right) or decreases the brightness values by adding black (drag left).
The top color bar at the bottom of the dialog box represents the colors in their order on the color wheel before you make any changes. The lower color bar displays the colors after you make your adjustments.
When you select an individual color to adjust, sliders appear between the color bars so that you can define the range of color to be adjusted. You can select, add, or subtract colors from the range by choosing one of the Eyedropper tools and clicking in the image. This dialog box also lets you colorize images, a useful option for creating sepia-colored images.
(Optional) Select the Colorize option to change the colors in your image to a new, single color. Drag the Hue slider to change the color to your desired hue.
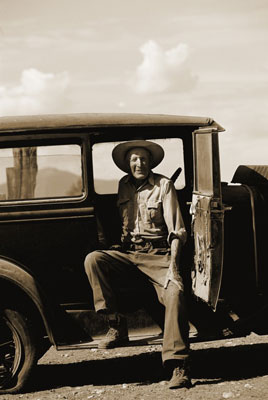
The pure white and black pixels remain unchanged, and the intermediate gray pixels are colorized.
Use the Hue/Saturation command with the Colorize option to create tinted photos. You can also make selections in a grayscale image and apply a different tint to each selection. This can be especially fun with portraits. Tinted images can create vintage or moody feels, and they can transform even mediocre photos into something special.