
A good idea is to know what all the dials and buttons on your Canon EOS 7D Mark II do. However, at times in the heat of battle you need to make one or more changes quickly, such as when you want to change image size, enable the 10-second self-timer when shooting in Full Auto mode, or change multiple options quickly when shooting with one of the creative shooting modes.
So if you’re in a New York state of mind and want to change camera settings in a New York minute, follow these steps:
Press the Quick Control button.
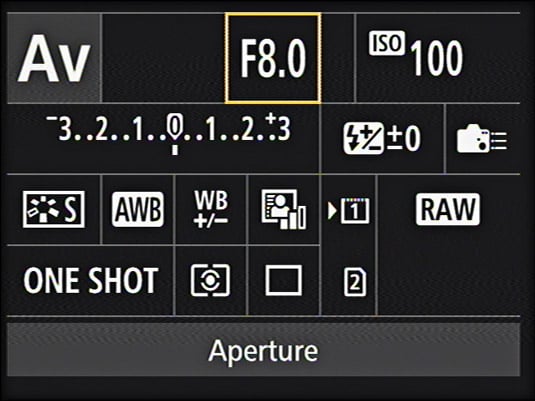
The Quick Control menu appears on your LCD monitor. The display varies depending on which mode you’ve selected from the Mode dial. Here is the Quick Control screen when taking pictures in Aperture Priority mode.
Press the multi‐controller button right or left to navigate between shooting options and then rotate the Quick Control dial to change the setting.
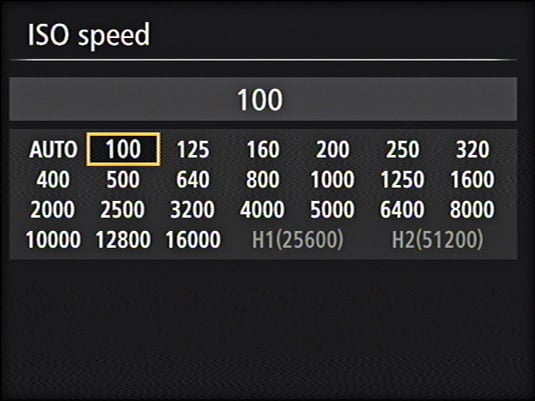
As you rotate the dial, the setting changes. Alternatively, you can press the Set button after you select an option to display a screen showing all options. Check out the screen that appears for changing ISO speed with the Quick Control screen.
Repeat Step 2 for any other setting you want to modify.
Press the shutter button halfway to exit the Quick Control menu and begin taking pictures with the new settings.
Now that was quick and easy, wasn’t it?
If you’re the type of photographer who likes to razzle and dazzle yourself and your friends by viewing images you’ve just shot on the camera LCD monitor — also known as chimping because of the noises photographers sometimes make when they see a cool image — you’ll love viewing images on the camera LCD monitor as a slide show. To view images as a slide show:
Press the Menu button.
Press the Quick Control button to navigate to the Play tab and then use the multi‐controller button to select the Play2 menu.
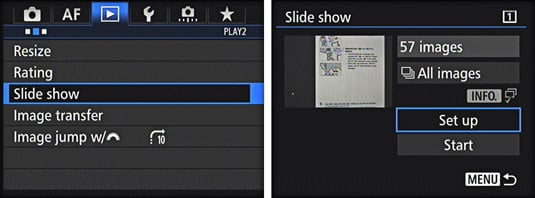
Rotate the Quick Control dial to highlight Slide Show and then press the Set button.
The Slide Show menu appears. The Set Up option is selected by default. If you decide you want to choose different images, go to Step 4. If you want to create a slide show with all images on the card, go to Step 7.
To select a different viewing option, rotate the Quick Control dial to highlight All Images and then press Set.
Two arrows appear indicating that you have options.
Rotate the Quick Control dial to scroll through the options.
The options vary depending on what you’ve captured on the card and whether you’ve put images into different folders. If you have multiple folders, they appear on this menu. Rotate the Quick Control dial to select the desired photos. If you have movies on the card, you can view movies on the camera monitor. You can also view stills in the slide show only.
After choosing an option, press Set.
The images or movies you select display as a slide show after you set up the slide show.
Rotate the Quick Control dial to highlight the Set Up tab.
Press Set.
The default slide show options display all images with a 1‐second delay, and the show loops until you exit the slide show. To accept the default slide show options, fast‐forward to Step 12.
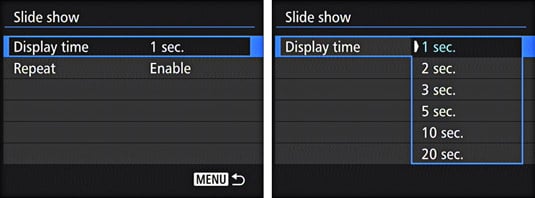
Highlight Display Time and press Set.
The menu changes to show the options for the duration of each slide.
Rotate the Quick Control dial to select a Display Time option and then press the Menu button.
The previous slide show menu displays.
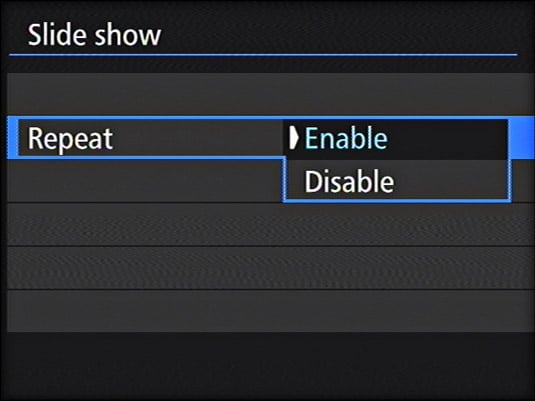
Rotate the Quick Control dial to Repeat and press Set.
The Repeat options display. The default Enable option repeats the slide show until you press the shutter button halfway or press the Menu button. The Disable option plays the slide show once.
After choosing the Display Time and Repeat options, press Menu.
The previous screen displays.
Rotate the Quick Control dial to highlight Start and press Set.
The slide show begins.
Press Set to pause the slide show.
Use this option to examine a single image. You can’t magnify an image while in slide show mode. When the slide show is paused, you can rotate the Main dial or Quick Control dial to view a different image. You can press the Info button to show a different display with the image. Pressing Set also pauses a movie that’s part of the slide show.
Press Set to continue the slide show.
When you’re tired of watching the slide show or your battery starts running low (auto power‐off is disabled when you view a slide show), press the shutter button halfway to return to picture‐taking mode. Alternatively, you can press the Menu button to specify different slide show options or to view images in a different folder.