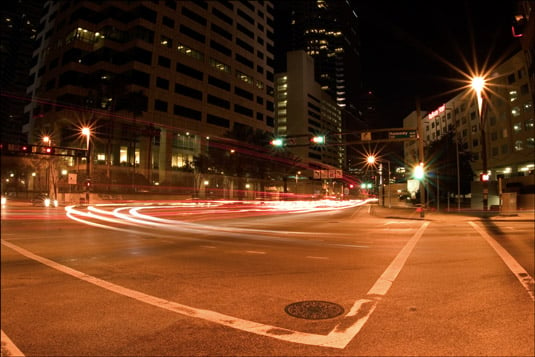
When you switch to Bulb mode on your Canon EOS 7D Mark II, the shutter stays open as long as you press the shutter button. If you’ve ever seen night pictures in which you can actually see trails from stars that follow the curvature of the earth, you’ve seen a photograph that was taken with the Bulb mode. The photographer left the shutter open for a long period of time, and the earth rotated while the photograph was taken.
These types of images are known as time exposures because the image was exposed over a long period of time. To shoot time exposures:
Mount the camera on a tripod.
The lens will be open for a long time. The slightest movement will show up as a blur in the final image. Unless you want the image blurred for a creative effect, you need to stabilize the camera on a tripod.
Rotate the Mode dial to B.
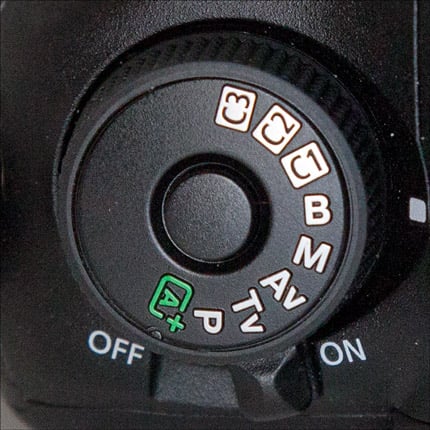
B means Bulb mode. Back in the old days of film cameras, photographers would open the shutter with a pneumatic device that looked like a bulb. The shutter opened when the photographer squeezed the device and remained open until the photographer released his grip.
Rotate the Quick Control dial or the Main dial to set the f-stop value.
A small f-stop value such as f/2.8 (large aperture) lets a lot of light into the camera and gives a shallow depth of field. A large f-stop value (small aperture), such as f/16, lets a small amount of light into the camera and gives a large depth of field.
You also need to leave the shutter open longer when using a large f-stop value, which in most instances is desirable. However, a longer exposure can add digital noise to the image. When you have an exposure that leaves the shutter open for several seconds, or perhaps minutes, use an ISO speed setting of 100 to minimize digital noise.
Connect a remote switch to the camera.
If you hold the shutter button open with your finger, you’ll transmit vibrations to the camera, which yields a blurry image. A remote switch, such as the Canon RS-80N3, or a remote timer and switch, such as the Canon TC-80N3, triggers the shutter remotely and no vibration is transmitted to the camera. Both plug into a port on the side of your camera.
Press the button on the remote switch to open the shutter.
The shutter remains open as long as you hold the button. The time is noted in the LCD panel.
Release the button on the remote switch to close the shutter.
Review the image on your LCD monitor.
You might find it useful to take one picture, note the time the lens remained open, and examine the image carefully on the LCD monitor. If you’re not pleased, take another shot, leaving the lens open longer if the test image is underexposed or for a shorter duration if the test image is overexposed.
Time exposures can be a lot of fun. You can use them to record artistic depictions of headlight patterns on a curved stretch of road or capture the motion of the ocean at night. The possibilities are limited only by your imagination. You can also manually set the number of seconds for which the shutter is open using the bulb timer.