
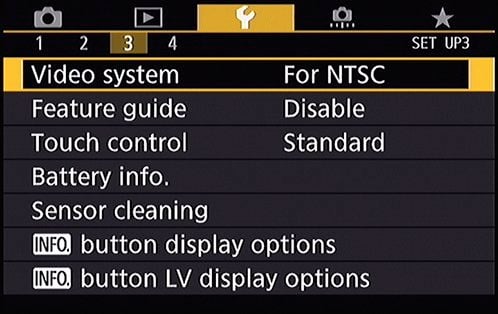
- Video System: This option is related to viewing your images and movies on a television. Select NTSC if you live in North America or other countries that adhere to the NTSC video standard; select PAL for playback in areas that follow that code of video conduct.
- Feature Guide: When this option is enabled and you switch exposure modes (via the Mode dial) or choose certain other camera options, notes appear on the monitor to explain the feature. The guide screens disappear after a few seconds automatically or, in some cases, after you tap the little x in the upper right of the message box.
Although the Feature Guide screens are helpful at first, having them appear all the time is a pain after you get familiar with your camera. So you may want to change this option to Disable.
- Touch Control: This setting controls the touchscreen interface.
- Battery Info: Select to see battery information. There’s more here than you might think: You can see what type of battery you have in the camera (or if you’re connected to the power grid), how much power you have left (as a percentage), the number of photos you’ve taken on this battery (movie recordings aren’t counted), and the battery’s recharge performance.
For this last feature, three green bars mean that the battery is working fine; two bars mean that recharging is slightly below par; and one red bar means that you should invest in a new battery as soon as possible. You can also register each battery (Canon batteries come with a unique internal serial number; go figure) with the camera and check remaining capacity and when they were last used. Press the Info button when reviewing battery info to get started.
- Sensor Cleaning: Choose this option to access features related to the camera’s internal sensor-cleaning mechanism. These work like so:
- Auto Cleaning: By default, the camera’s sensor-cleaning mechanism activates each time you turn the camera on and off. This process helps keep the image sensor — which is the part of the camera that captures the image — free of dust and other particles that can mar your photos. You can disable this option, but it’s hard to imagine why you would choose to do so.
- Clean Now: Select this option and press Set to initiate a cleaning cycle. For best results, set the camera on a flat surface during cleaning.
- Clean Manually: In the advanced exposure modes, you can access this third option, which prepares the camera for manual cleaning of the sensor. This practice isn’t recommended; sensors are delicate, and you’re really better off taking the camera to a good service center for cleaning.
- Info Button Display Options: This setting determines which information screens appear when you press the Info button during shooting.
- Info Button Live View Display Options: This setting determines which information screens appear when you press the Info button when in Live View and Movie modes and change the type and size of the histogram you want displayed.