The easiest way to set up a network for sharing files and devices is to use the new Homegroup feature in Windows 7. Setting up a Homegroup in Windows 7 streamlines the network creation process and provides a simple way to let every PC in the house share files, including music, photos, and movies, and even the household or office printer.
The catch? Homegroups only work completely with other Windows 7 PCs. But even if you have only one Windows 7 PC in your home network, set up its Homegroup anyway. Creating a Homegroup will let every user account on that Windows 7 PC share their files more quickly and easily with each other and will let your PC share files with older PCs still running Windows Vista or Windows XP.
PCs running Windows 7 Starter Edition can’t create a Homegroup, but they can join one.
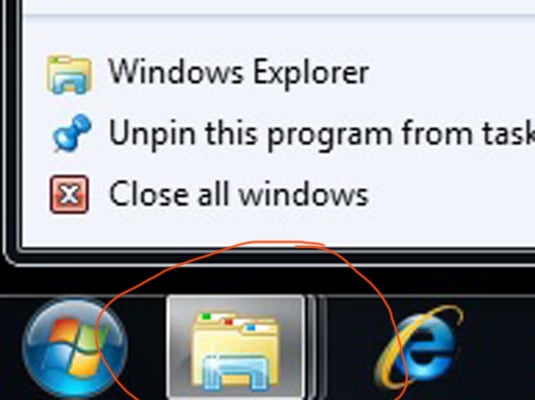
Click the Library icon on your taskbar to launch your Libraries window.
Right-click the Homegroup link in the Navigation Pane and click the Create a Homegroup button.
If you don’t spot the words Create a Homegroup, your Homegroup is already set up on this PC; choose Change Homegroup Settings instead, and move to the next step.
If you see a Join Now button instead, a Homegroup has been created on another PC in your network. You’ll need to get the password from the PC that created the Homegroup in order to join.
Select what items to share on your Homegroup and click Next or Save Changes.
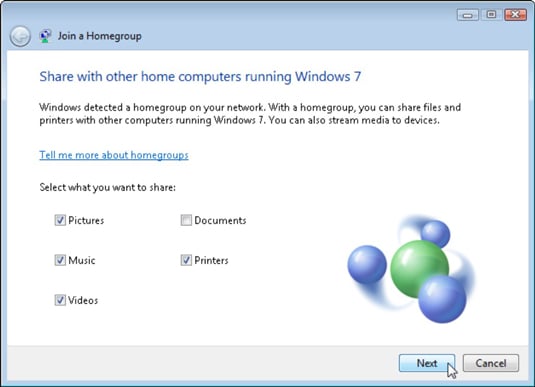
Select an item’s check box to share it; remove the check mark to stop sharing. Windows 7 normally shares your Pictures, Music, and Videos libraries, as well as any printer that’s attached to any PC on your Homegroup. You might want to leave your Documents library unshared if it contains more private items.
Sharing a folder simply lets other people access that folder’s files — view the pictures or watch a video, for example. They can neither change nor delete those files, nor can they create or place any files in your folder.
Process the password and click Finish.
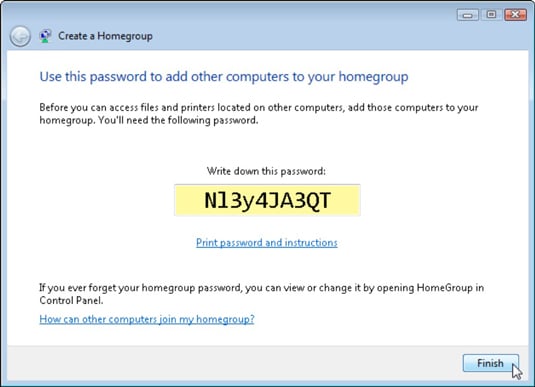 Type the password into each Windows 7 PC within your Homegroup.
Windows 7 spits out a customized password for your Homegroup. The password contains a mixture of numbers and letters. It is case sensitive, so write it down carefully.
Forgot the all-important Homegroup password? You can find it on any PC on the Homegroup: Open any folder, right-click the word Homegroup in the Navigation Pane, and then choose View Homegroup Password.