
Once you’ve set up your company’s Facebook page, it may need some added flare and polishing to attract online consumers. Initially, your page is pretty bare. Time to give it some life. First add a cover image:
Click the Add a Cover button.
It’s right under the admin panel.
Select a photo.
You can select a photo by uploading from your computer or choosing from among photos you’ve already uploaded. The cover image is 851 x 315 pixels. For the best result, resize it before you upload.
Choose something relevant to your business but not a sales pitch.
Drag the image to reposition it.
If your image is larger than the cover size, you can drag it to reposition it in the cover area.
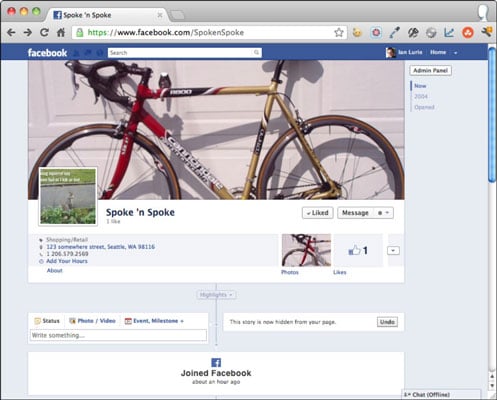
Click the Save Changes button.
Your Page now has a cover image.
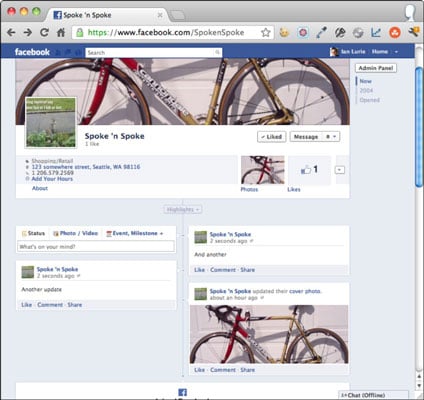
Now that you have a cover image, you can build your Timeline. Start by adding status updates, photos, events, and past milestones. Showing your history gives customers a sense of your business, and gives them another way to connect on a personal level — if a potential customer sees you were both at the same bike rally in 1998, they’re that much more inclined to stop by.
Think over your company’s history, as well as your own. Add things like the following:
When you started the company: In the Write Something area, click the Event, Milestone icon. Then click Milestone and complete the small form that appears.
A first for your company: Add when you hired your first employee, moved into a new office, or other events. To add a status, click in the Write Something area and type a description. Then click the small clock at the bottom left-hand corner of the status field and select the year.
Great photos and video: If you have great photography or video that you’d like the world to see, add that, too. Click in the Write Something area, then upload a new image or video, use your webcam to shoot video, or upload several photos to create an album. Click the small clock to select the year.
Be creative! Provide as complete a narration as you can.
You may, at times, want to customize your Page. Here are a few scenarios and how you can customize accordingly:
You want one particular post to stay at the top of the Timeline. Hover over the post you want to stay at the top. Click the Edit or Remove link and then click Pin to Top. Your post remains at the top for 7 days or until you unpin it.
You want one post to span the entire page. Maybe you have a single photograph that you want to show full width or a post that you want to get special emphasis. One way to achieve that is to highlight the post. A highlighted post spans the entire page. To highlight a post, hover over it, then click the star that appears at the upper-right corner of the post.
You want to change permissions. You may want to restrict who can post to the Page’s Timeline, block certain words, or change age restrictions. To do so, choose Manage→Edit Page in the admin panel.
You want to change your page category, description, or other basic settings. Choose Manage→Edit Page→Basic Information in the admin panel.
You want to add other Page admins. If you want other people to help you manage the page, you need to make them admins. Click choose Manage→Edit Page→Manage Admins in the admin panel.