
The Canon EOS 60D lets you customize the way it functions to suit you. Its three Setup menus help you create and manage basic camera settings.
Setup Menu 2 offers the following customization options:
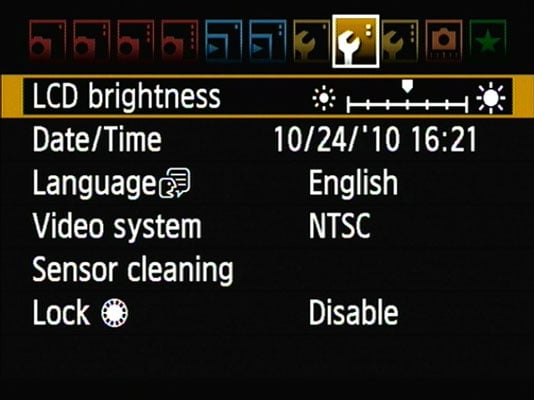
LCD Brightness: Make the camera monitor brighter or darker. After highlighting the option on the menu, press the Set button. The camera displays a picture from your memory card; if the card is empty, you see a black box instead. Use the Quick Control dial or press right or left on the multicontroller to adjust the brightness setting. Press Set to finish the job and return to the menu.
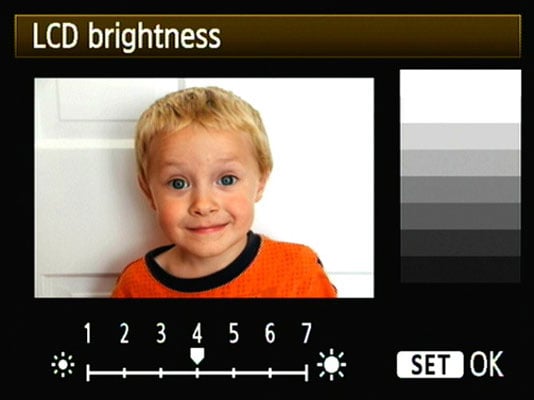
What you see on the display may not be an accurate rendition of the actual exposure of your image. Crank up the monitor brightness, for example, and an underexposed photo may look just fine. Keeping the brightness at its default center position is a good idea unless you’re shooting in very bright or dark conditions. As an alternative, you can gauge exposure by displaying a histogram tool when reviewing your images.
Date/Time: When you turn on your camera for the very first time, it automatically displays this option and asks you to set the date and time.
Keeping the date/time accurate is important because that information is recorded as part of the image file. In your photo browser, you can then see when you shot an image and, equally handy, search for images by the date they were taken.
Language: Set the language of text displayed on the camera monitor.
If you change your language (intentionally or by accident) to something freaky, you’ll appreciate the little speech bubble icon next to the Language setting for those times when you can’t read the word for Language.
Video System: This option is related to viewing your images and movies on a television. Select NTSC if you live in North America or other countries that adhere to the NTSC video standard; select PAL for playback in areas that follow that code of video conduct.
Sensor Cleaning: Highlight this option and press the Set button to access some options related to the camera’s internal sensor-cleaning mechanism. These work like so:
Auto Cleaning: By default, the camera’s sensor-cleaning mechanism activates each time you turn the camera on and off. This process helps keep the image sensor free of dust and other particles that can mar your photos. You can disable this option, but it’s hard to imagine why you would choose to do so.
Clean Now: Select this option and press Set to initiate a cleaning cycle.
Clean Manually: In the advanced exposure modes (P, Tv, Av, M, B, and C), you can access this third option, which prepares the camera for manual cleaning of the sensor. You’re really better off taking the camera to a good service center for cleaning.
Lock: This menu locks the Quick Control dial when in a Creative Zone mode.