After you measure, mark, cut, and join all your materials, it’s time to assemble everything into an honest-to-goodness beehive. Here are a few simple hints that makes building your hives and equipment easier.
Use glue in your beehive
It's a good idea to use of glue in addition to nails and screws. And though doing so isn’t mandatory, supplementing fasteners with weatherproof yellow carpenter’s glue surely makes your hives and equipment as strong and long-lasting as possible.
For best results, before using your fasteners, wipe or brush a thin, even coat on both surfaces of the joint. Don’t goop it on so much that it oozes out of the joint when the pieces come together. Work fairly quickly, as the glue will start to set up in a few minutes.
Carpenter’s glue cleans up nicely while it’s still wet, so use a damp rag to wipe down the outside of the joints for a tidier look. After the glue dries it’s the devil to remove, and if you plan to stain your woodenware, the stain won’t take to those areas covered with dry glue.
Use a square for building your beehive
When it comes to building beehives and beekeeping equipment, you’re generally making boxes and frames, so it’s really hip to be square. When two pieces of wood come together at right angles, you can’t simply assume that they’ll meet at a perfect 90-degree angle.
If that angle is just a wee bit off and you keep nailing things together, your project will get more and more out of whack the further you go.
Here’s where your carpenter’s square comes into use. Use a square to check how your pieces fit together before you use any nails and screws, and then periodically check your assembly with your square to visually confirm that your hive bodies, supers, frames, and other parts are joined at the perfect 90-degree angle.
Nail and screw your beehive together
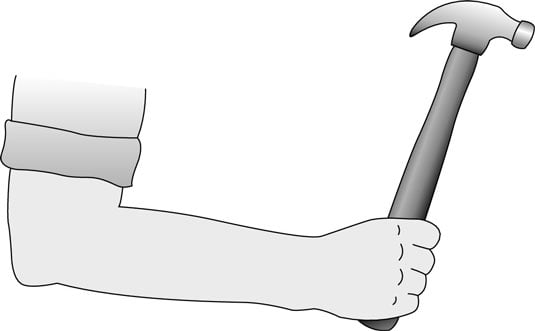
A hammer was probably one of the first tools you ever used as a kid. But surprisingly, many weekend warriors haven’t mastered a good technique for using a hammer. Here’s a tip: Don’t be a wimp. Get a good grip at the end of the handle — not the middle and not up by the head.
Use an authoritative swinging motion from the elbow and hit the nail with the center of the hammer’s face. Tapping lightly is okay at first to get the nail set, but after that you should be able to drive the nail home with just a few committed swings.
Eliminate bashed thumbs while setting nails — use a cheap plastic comb to hold a nail in position while you tap away.
Toe nailing has nothing to do with the digits on your feet. It’s a technique of joining two pieces of wood by driving a nail at an angle. It’s easiest done when the two parts to assemble are braced against some kind of stop on your worktable. A piece of lumber secured to the work surface makes a good stop. Place the nail at a 45-degree angle and tap it into place.
To make life easier, you can use all the screw fasteners with #2 Phillips heads. That means the only screw bit you need to use is a #2 Phillips. Rather use a hex or square-head type of screw? No problem. It’s up to you.
As you assemble various hive parts, you might like to first test-fit the wooden pieces (making sure everything is okay), and then apply a single fastener (screw or nail) into each side. Drive the nail or screw only partway in, just enough to hold the pieces together.
This allows a little wiggle room to make certain everything is square. After you confirm that all is well, drive the fasteners in all the way and add the remaining ones.