
You can use the Windows Device Manager to view the status of a device or diagnose a problem caused by one of your laptop’s systems.
Opening Device Manager
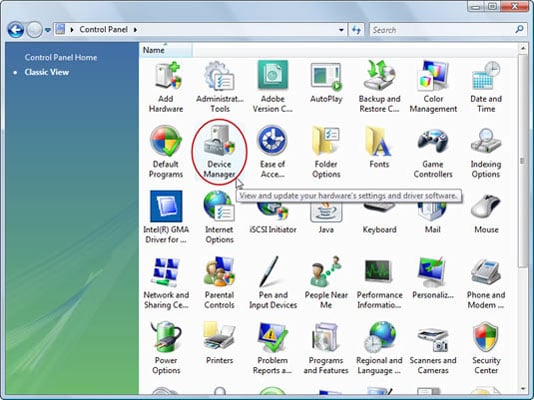
If you’ve chosen the Classic look for Windows Vista, follow along to get there:
Click the Start button.
Go to the Control Panel.
Click a Device Manager icon.
If you’re using the new Vista style, do these steps:
Click the Start button.
Go to the Control Panel.
Click Hardware and Sound→Device Manager.
In Windows XP, do these steps:
Click the Start button.
Go to the Control Panel.
Choose the System icon.
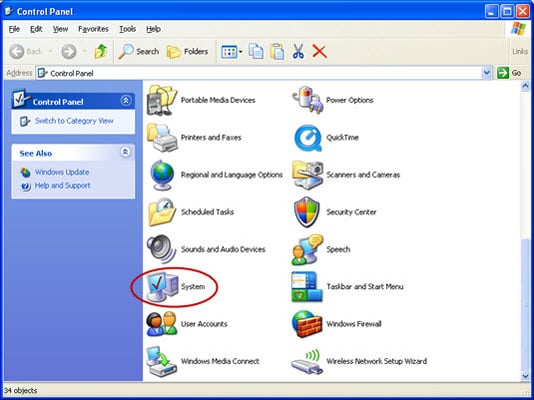
The System Properties window appears.
Choose the Hardware tab.
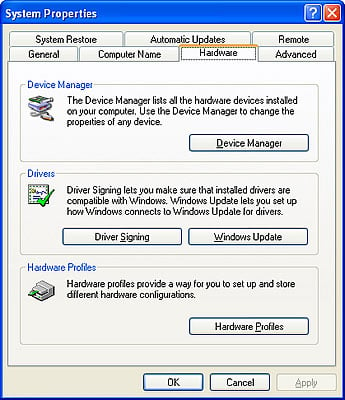
Click the Device Manager button.
Viewing the status of a device
A status report tells you
Whether a device has drivers installed
Where it is on the laptop’s internal bus
Whether Windows considers it to be working properly
To display a report, do these short steps:
Double-click a component listed in the Device Manager.
The Properties screen appears.
Select the General tab.
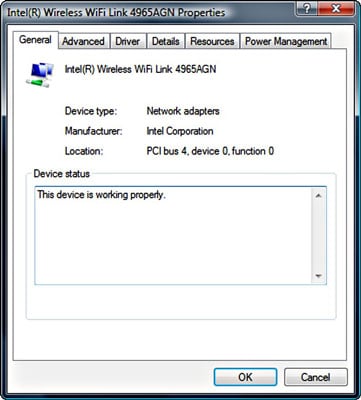 The status report shows the manufacturer, model number, location, and whether Windows can talk with it in the expected manner.
If the operating system can’t talk with the device, or finds it functioning improperly, a message appears in the Device status window. Follow these steps loosely:
Note the problem code.
Try the suggested solution.
The report may include a suggested solution.
Enter the code into a search engine on the Internet.
You may also be able to find a solution there.
Call the support department for your laptop or component maker.
Click the Check for Solutions button if provided.
Some devices have the button, which lets you submit a Windows Error Report to Microsoft.