
The Windows 8.1 Photos app offers some basic photo editing tools not found in the Windows 8 Photos app. Follow these steps to crop a photo in the Windows 8.1 Photos app:
Open a photo in the Photos app.
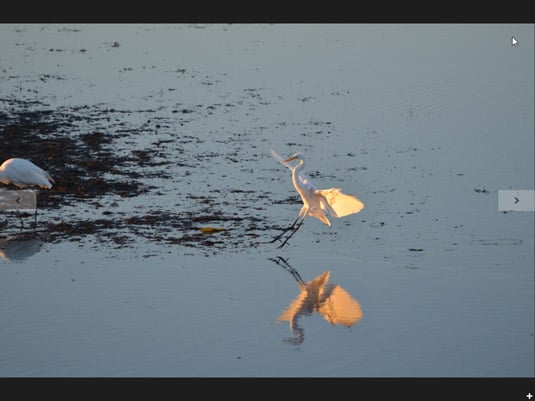
Clicking a photo from the Start screen or double-clicking a photo from the desktop should open the photo in the Photos app. If you’re having trouble opening a photo from the desktop, right-click the photo, choose Open With from the pop-up menu, and choose Photos. The Photos app appears, displaying your photo.
Right-click the photo to see the editing tools on the bottom menu.
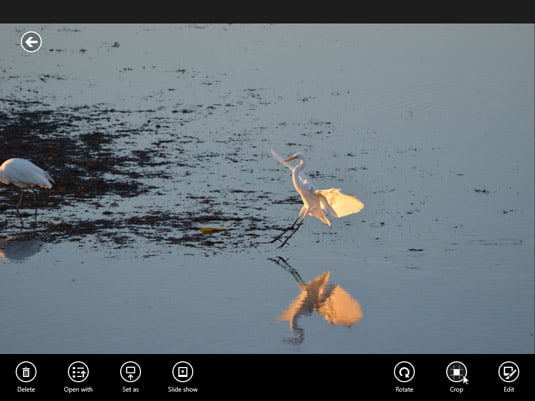
Right-clicking the photo reveals the bottom menu, which shows the first round of editing tools: Rotate, Crop, and Edit.
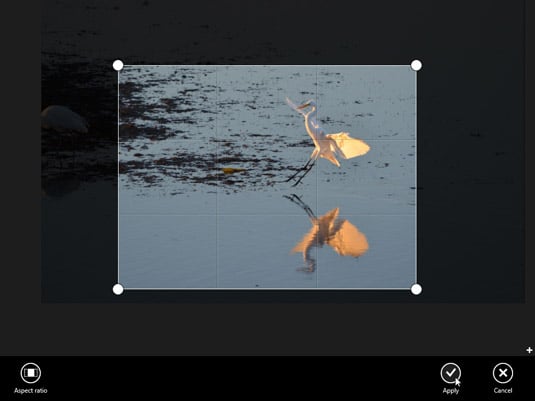
Click Crop and remove unwanted portions of your photo.

A square of crosshairs appears atop your photo. Remove unwanted portions of your photo by dragging the square’s corners inward or outward. For best results, position your photo’s subject where the square’s grid lines intersect.
Change the aspect ratio if desired.
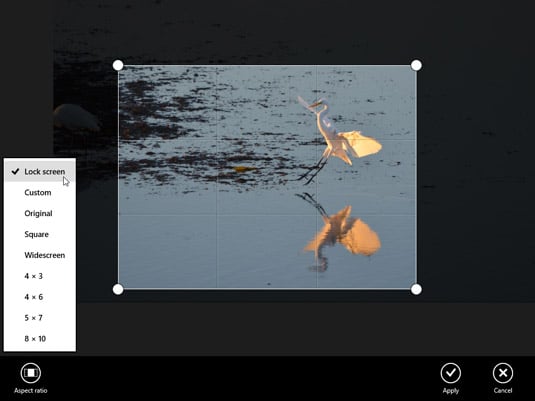
If you’re planning on printing your photo or displaying it at a certain size, click the Aspect Ratio button from the bottom menu. There, you can select your photo’s frame size. Choose Square, for example, to fit a square frame. Choose Widescreen to make your photo fill a widescreen TV. Choose Lock Screen to use a photo as your PC’s lock screen. Each choice places a differently sized square over your photo to fit your new choice’s dimensions. To compensate, drag the square’s corners inward or outward and reposition your subject in the crosshairs.
Save your changes by clicking Apply.
Click Apply, and the program applies your cropping size to the photo. It doesn’t save the photo until the next step, though. If you change your mind, click the Cancel button from the menu along the bottom.
Decide whether to save the newly cropped image as a new photo or as the original photo.
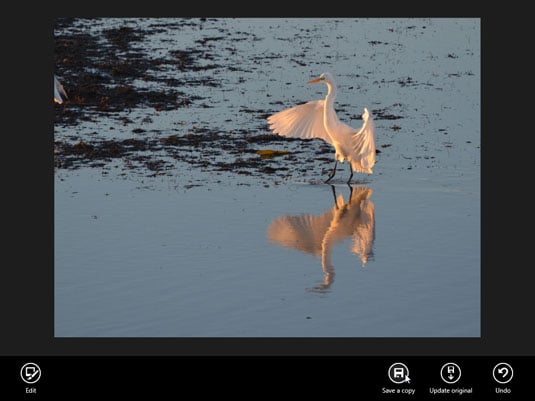
The Photos app offers two choices when you’re saving your new image. For the safest option, choose Save a Copy. That saves your cropped version but preserves the original just in case you want to crop it again to a different size. Choose Update Original only if you want to apply your changes to the original photo and don’t care if you may want to change it down the road.
Examine your cropped photo.
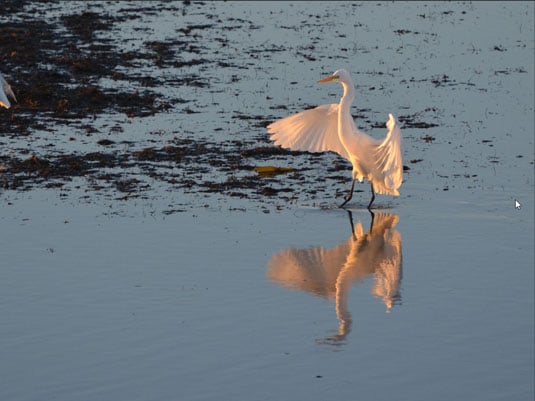
The Photos app then leaves you to look at your newly cropped photo, which is ready to fit into the frame size you’ve chosen. If something doesn’t look right, head back to Step 2 to repeat the process.