
Windows 7 makes it easy to connect to a VPN so that you can share files, programs, and peripheral devices, such as printers and scanners. Many VPNs are setup using the traditional wired Ethernet connection, but wireless VPNs are becoming increasingly more common. Fortunately Windows 7 is super at detecting existing private networks.
Once you’ve established the VPN connection in Windows 7, you can access the connection using either the Network and Sharing Center or the Wi-Fi icon in the notification area of the taskbar.
Start→Control Panel→View Network Status.
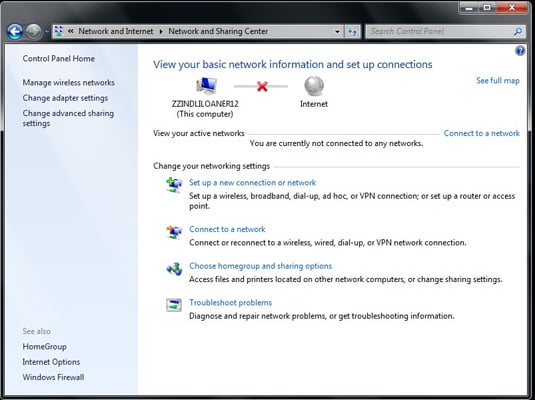
The Network and Sharing Center window opens.
Click the Connect to a Network link.
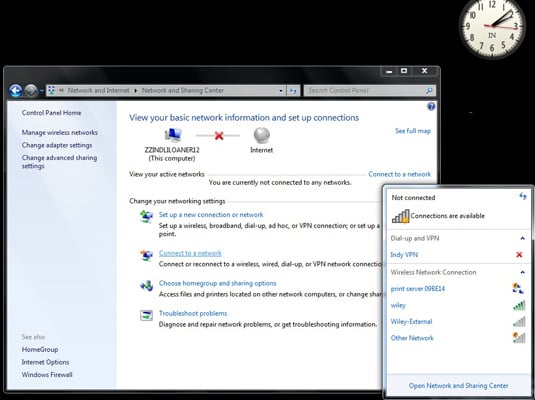
Windows 7 opens a dialog box that shows all the available networks in your area.
Locate the VPN you want to connect to and click its name and then click the Connect button.
The button only appears after you click the name of the network.
To disconnect from a network, click the network name in this dialog box and then click the Disconnect button. Click Disconnect when prompted and then click Close.
Enter your network security key.
Most VPNs require a security key. It’s the same one you used to establish the connection.
Select the Hide Characters check box if you want to keep the Key hidden.
Click OK and then click the Connect button.
Windows 7 will use the key to establish a connection to the VPN network.