
To set up parental controls, you need to first make yourself the administrator for your kids’ Mac. You then need to set up a separate account for each child who will be using the computer. Even if you have more than one child and are giving each one his own Mac, it’s still a good idea to give each kid an account on each machine. That way, if one child borrows an older sibling’s Mac, she still has the restrictions you impose.
To set up accounts for your children:
Select System Preferences from the Apple menu and click the Accounts icon.
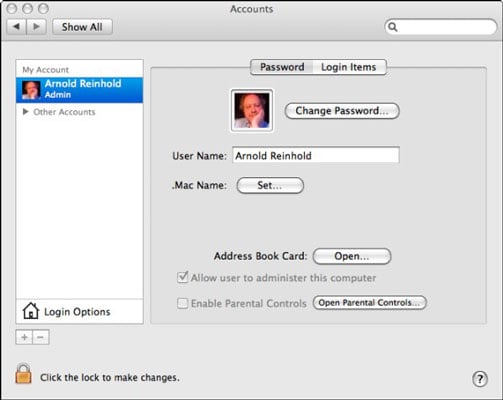
It’s the one with a silhouette of two heads.
Click the plus sign in the lower-left corner to add a new account.
You may have to click the Lock icon first and enter your password.
In the New Account pane, fill in the name and password you want your child to have.
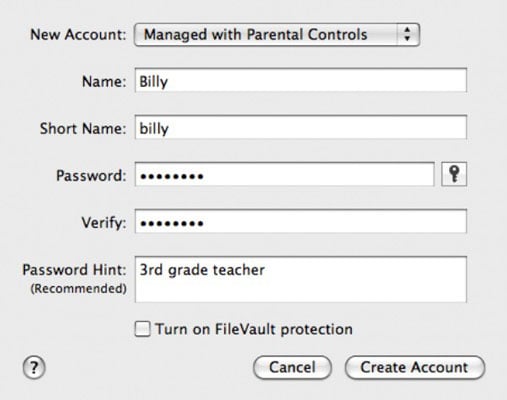
Because the account name and short name are used in OS X for many purposes and may show up during Internet use, do not include your kids’ last name on the account. An alternative for kids who are very young is to combine a name and number from two different parts of their lives, such as a character from a favorite story and their room number in school.
Because this is an account for a child, select Managed with Parental Controls from the New Account drop-down list.
Other account options include Standard and Administrator. Don’t give your kids administrative privileges. This does mean they will ask you occasionally to enter your password so that they can do something that requires these privileges, such as installing some downloaded software. You want to know about these things.
Click the Create Account button.
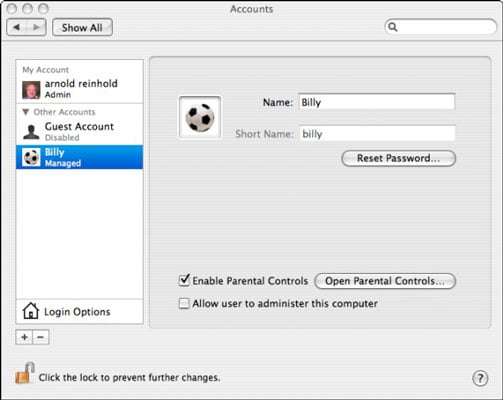
When you’re done, you see the Accounts system preferences pane again, this time with the new account highlighted.
Select the account you just created, if it’s not already selected, and select the Enable Parental Controls check box. Click the Open Parental Controls button.
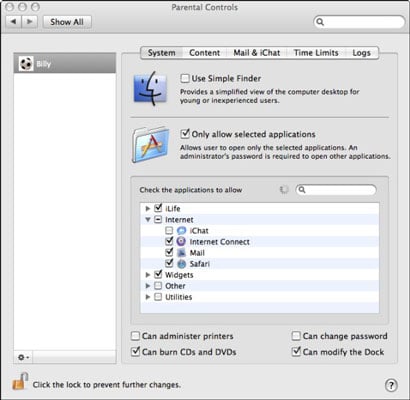
The Parental Controls System pane appears, with tabs for several other panes: System, Content, Mail & iChat, Time Limits, and Logs. Each pane has settings that let you sculpt your child’s computer and Internet usage.
Go to each pane and set up the controls for the account.
By logging on as the administrator under your own account, you can return to the Parental Controls settings to adjust them if needed. Just open System Preferences from the Apple menu.