
Note that, for this example, the workstation version of Fedora is installed. You also can install the server version of Fedora, but the server version does not configure a graphical user interface (GUI) by default. The workstation version works well as a server and provides GUI tools to simplify basic configuration tasks.
Download the Fedora 26 .iso file from the Fedora project's download page, connect it to the virtual machine’s optical drive, and start the virtual machine.Choose your language and then click Continue.
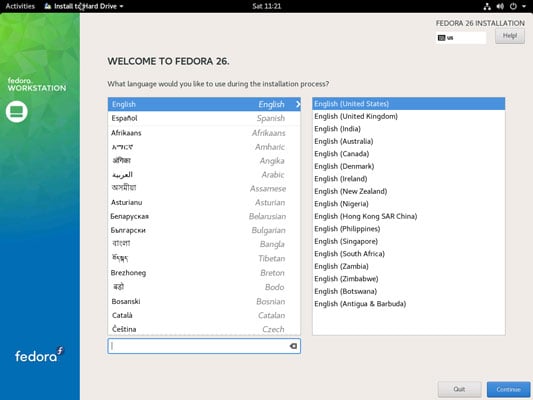
When you start the VM, a bunch of text messages fly across the screen. Eventually, the first page of the setup program is displayed. Choose a language to begin the Fedora installation.
Click Installation Destination.

The Installation Summary page is displayed. The installation program displays the Installation Destination screen.
If necessary, adjust the installation destination settings.
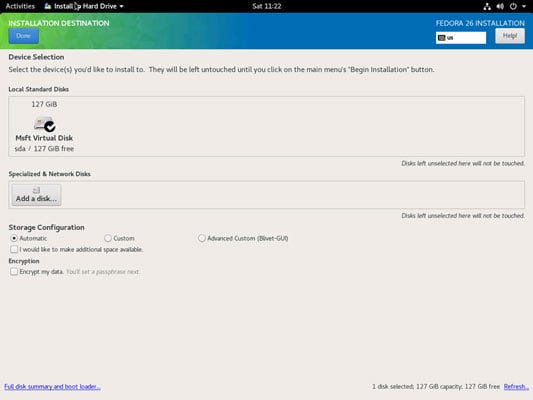
The Installation Destination screen indicates the disk volume on which Fedora will be installed. The default setting is to automatically create a partition on the empty primary drive and then install Fedora into the new partition. You should adjust these settings only if you want to install Fedora into a different location.
Click Done. You’re returned to the Installation Summary screen.
Click Time & Date.
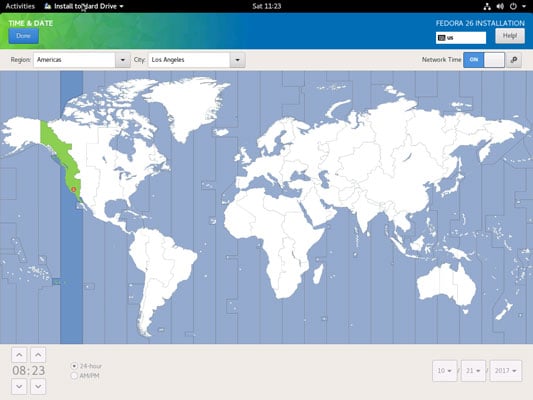
The Time & Date screen appears. Choose a time zone. Select the correct time zone and location, and then click Done. You’re returned to the Installation Summary page.
Click Network & Host Name.

The Network & Host Name screen is displayed. Choose the host name.
Enter the name you want to assign this computer and then click Done.
You’re returned to the Installation Summary screen.
Click Begin Installation.
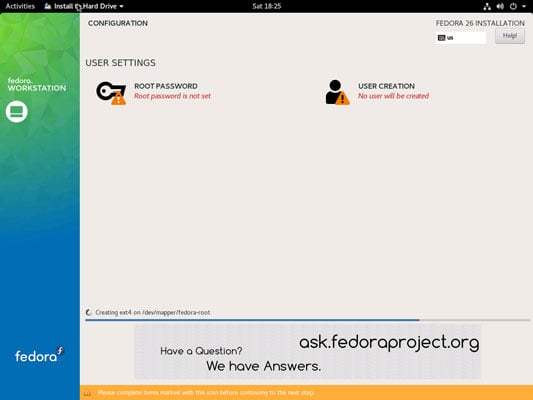
The Configuration screen is displayed.
Click Root Password.
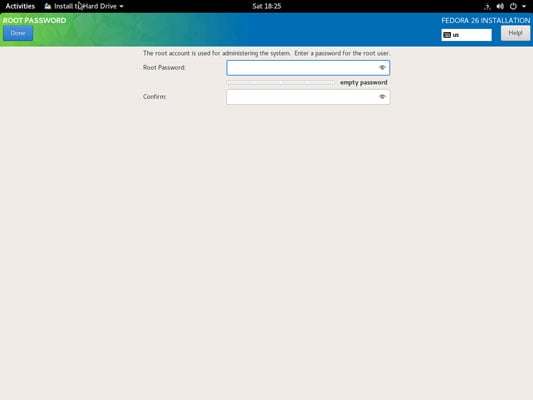
The Root Password screen is displayed. Enter a password for the root account.
It’s vital that the root account is protected by a strong password, so choose a good one. Write down the password somewhere and store it in a secure location away from the computer.
Click Done. You’re returned to the Configuration screen.
Click User Creation.
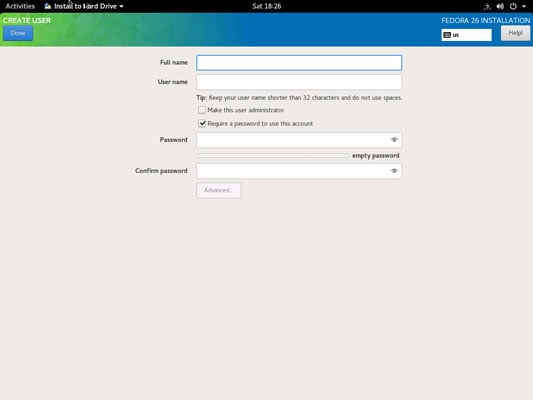
The Create User screen appears. This screen lets you create a user account so you’ll have at least one user other than the root.
Enter a name and password for the user account, and then click Done.
You’re returned to the Configuration screen.
Wait a few minutes until the installation finishes.
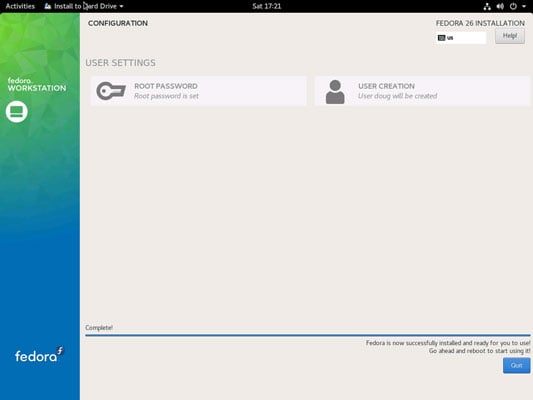
Fedora displays an installation progress bar while the software installs. When the installation completes, the screen shown appears.
Click Quit and then restart the computer. Installation is done!