
| Icon | Tool |
| |
Pen |
 |
Add Anchor Point |
 |
Delete Anchor Point |
 |
Convert Anchor Point |
Even though you can use a hidden tool to delete and add anchor points, Illustrator automatically does this as a default when you’re using the Pen tool. When you move the cursor over an anchor point by using the Pen tool, a minus icon appears. To delete that anchor point, simply click. Likewise, when you move the cursor over a part of the path that doesn’t contain anchor points, a plus icon appears. Simply click to add an anchor point.
If you prefer to use the tools dedicated to adding and deleting anchor points, choose Edit→ Preferences→ General (Windows) or Illustrator→ Preferences→ General (Mac); in the Preferences dialog box that appears, select the Disable Auto Add/Delete checkbox. Then, when you want to add or delete an anchor point, select the appropriate tool and click the path.Adding tools to help make paths
Some Pen tool modifiers are available in the Control panel in Illustrator CC. You can take advantage of them for many Pen tool uses, but using keyboard shortcuts to switch the Pen tool to its various options is probably still faster. If you’re resistant to contorting your fingers while trying to create a path, you should appreciate these tools.To see the Control panel tools, select the Pen tool and start creating a path. Notice that the Control panel has a series of buttons available.
Using the Eraser tool
If you haven’t discovered the Eraser tool, you will wonder how you got along without it! Using the Eraser tool, you can quickly remove areas of artwork as easily as you erase pixels in Photoshop by stroking with your mouse over any shape or set of shapes.New paths are automatically created along the edges of the erasure, even preserving its smoothness.
 The Eraser tool deletes sections of a path.
By double-clicking the Eraser tool, you can define the diameter, angle, and roundness of your eraser. If you’re using a drawing tablet, you can even set Wacom tablet interaction parameters, such as Pressure and Tilt.
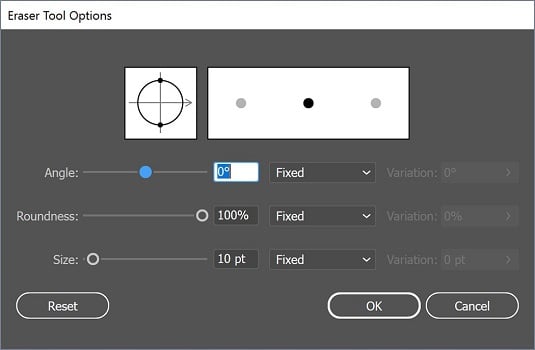 Double-click the Eraser tool to set various tool options.
If you want to erase more than a single selected object, use Isolation mode to segregate grouped objects for editing. Remember that in order to enter this mode, you simply double-click a group of items. You can then use the eraser on all objects in that group at one time without disturbing the rest of your design.