


Localizing your iOS app allows you to target it for the international market. A common task in localization involves translating the user interface (UI) of your app to display strings in the local language. SwiftUI makes localization straightforward. But you need to perform a few steps to get it set up localization in SwiftUI:
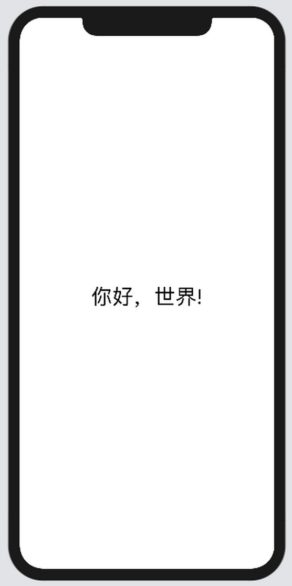 Displaying the Text view in Simplified Chinese.
- Go to the Info page of your project and select the project name.
 Setting up localization for your project in Xcode.
 - On the Info page, expand the Localizations section and click the plus sign (+) below it.
Internationalization and localization are two terms that are often used interchangeably. However, they don’t mean the same thing. Internationalization is an activity that you, the developer, perform by utilizing system-provided application programming interfaces (APIs). These modifications allow your app to be localized. Localization, on the other hand, is the process of translating an app’s UI and resources into different languages.
- Select the language that you want to localize to. For this example, let’s choose Chinese.
- In the pop-up that appears, click Finish.
- In Xcode, choose File→New→File.
- Select Strings File and click Next.
 Adding a strings file item to your project.
 - Name the file
Localizable.strings.The file should now appear in your project. - In the File Inspector window, click the Localize button.
 Viewing the File Inspector window for the Localizable.strings file.
- In the pop-up window that appears, click Localize. You should now see an additional item named Chinese, Simplified appearing under the Localization section.
 The new language should now appear under the Localization section.
 - Expand the
Localizable.stringsitem in your project to reveal the two files,Localizable.strings(English) andLocalizable.strings(Chinese, Simplified). The two string files for the two languages, English and Simplified Chinese.
 - Add the following strings to the Localizable.strings (English) file:
"Hello, World!" = "Hello, World!"; - Add the following strings to the
Localizable.strings(Chinese, Simplified) file."Hello, World!" = "你好,世界!"; - In the
ContentView.swiftfile, add the following statements in bold:
import SwiftUIYour app is now localized. When you run the app on an iOS device with the language set to Simplified Chinese, it will automatically display thestruct ContentView: View { var body: some View { Text("Hello, World!") .font(.largeTitle) } }
Text view in Chinese.To test your application in the Preview Canvas, use the environment() modifier on the ContentView with the "zh" identifier:
struct ContentView_Previews: PreviewProvider {
    static var previews: some View {
        ContentView()
           .environment(\.locale, .init(identifier: "zh"))
    }
}
The image below shows the Text view displaying in Chinese. Displaying the Text view in Simplified Chinese.To change to English, use the "en" identifier:
        ContentView()
           .environment(\.locale, .init(identifier: "en"))
Want to learn more? Check out our SwiftUI Cheat Sheet.