The 60D Edit feature makes it delightfully easy to remove unwanted parts from the beginning or end of a movie right on your camera. This onboard editing is handy but basic, so don’t expect miracles.
Here are the simple steps for trimming the start or finish of a movie:
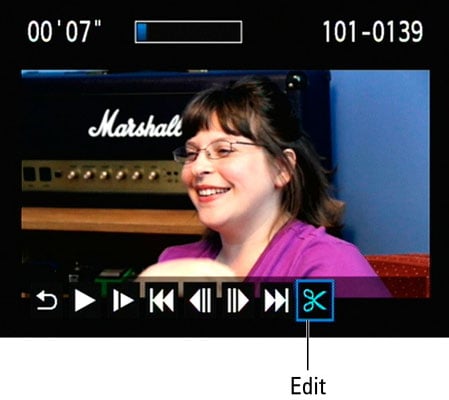
Click the Edit icon (it looks like a pair of scissors) to enter the Editing screen.
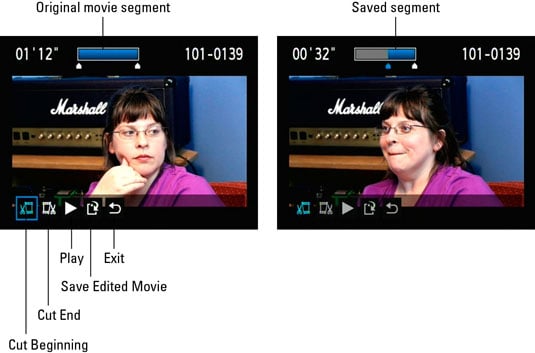
Select the Cut Beginning icon or the Cut End icon to begin the editing process.
In this example, the last part of the movie is cut. The bar at the top of the screen shows the playback position. In this example, the blue area represents what remains of the edited creation.
Use the multicontroller or Quick Control dial to advance frame by frame.
If you hold down the multicontroller, you fast-forward (or fast-backward) in your movie. Do this until you find the last point at which you want to cut the movie. Press the Set button to remove that beginning or ending portion. The blue portion of the bar at the top of your screen shows what will be saved.
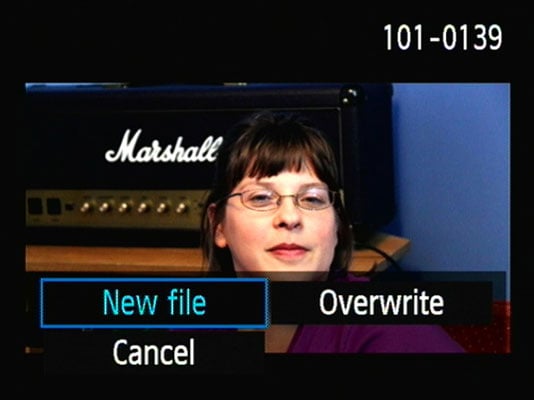
Press the Save Edited Movie icon to commit your edit.
When you press Save, you’re asked whether you want to save your edited movie as a new file or overwrite the original. It’s much safer to save the edited version as a new file. That way, if you ever decide that you did a lousy job (you edited out the cake cutting at your sister’s wedding, for instance), you’ll have your original movie on the memory card to save the day.