The Draw Table command in PowerPoint 2013 lets you draw complicated tables onscreen by using a simple set of drawing tools. This command is ideal for creating tables that are not a simple grid of rows and columns, but rather a complex conglomeration in which some cells span more than one row and others span more than one column.
Here’s the procedure for creating a table by using the Draw Table tool:
On the Insert tab on the Ribbon, click the Table button in the Tables group and then choose Draw Table from the menu that appears.
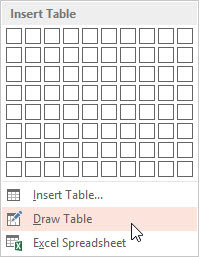
PowerPoint changes the cursor to a little pencil.
Draw the overall shape of the table by dragging the mouse to create a rectangular boundary for the table.
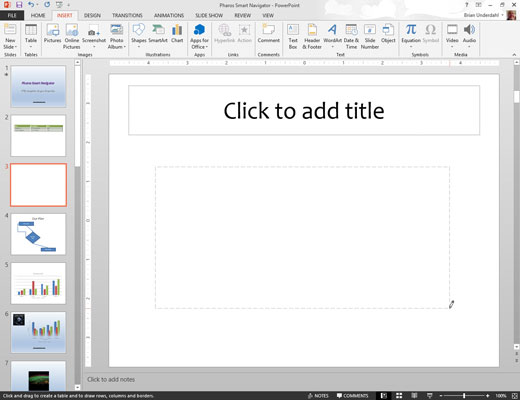
When you release the mouse button, a table with a single cell is created.
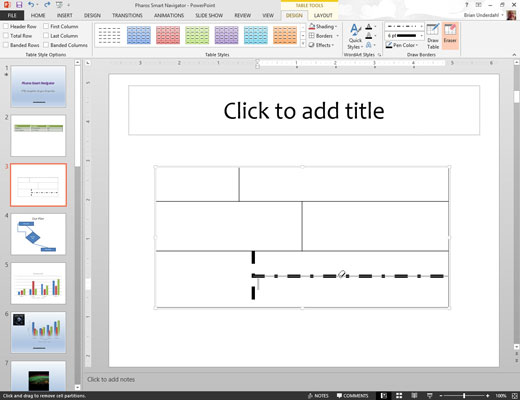
Click the Draw Table button in the Table Tools Design tab.
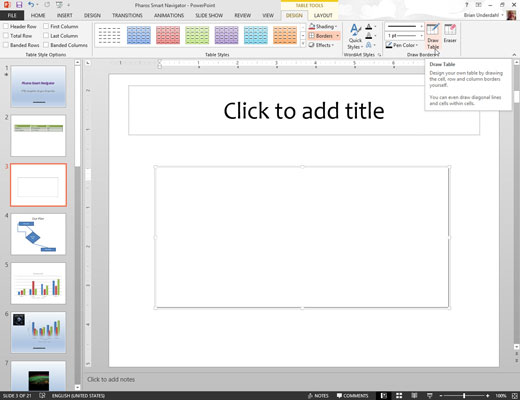
The mouse pointer changes into a little pencil when you click this button.
Carve the table into smaller cells.
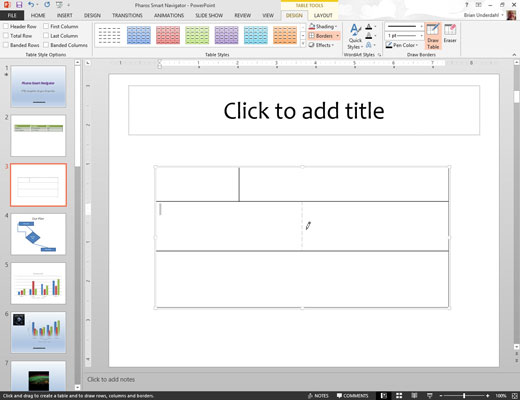
To do that, just drag lines across the table. For example, to split the table into two rows, point the cursor somewhere along the left edge of the table and then click and drag a line across the table to the right edge. When you release the mouse button, the table splits into two rows.
You can continue to carve the table into smaller and smaller cells. For each slice, point the cursor at one edge of where you want the new cell to begin and click and drag to the other edge.
If you want to change the line size or style drawn for a particular segment, use the Pen Style and Pen Weight drop-down controls in the Draw Borders group on the Table Tools Design tab.
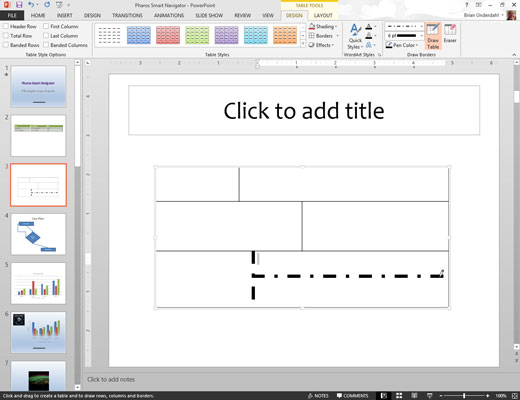
You can change the style of a line you’ve already drawn by tracing over the line with a new style.
If you make a mistake while drawing the table cells, click the Eraser (the one that looks like an eraser) button in the Draw Borders group and erase the mistaken line segment.