
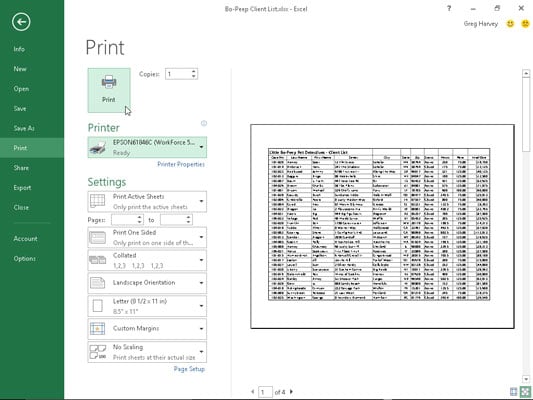
To save paper and your sanity, print your Excel 2016 worksheet directly from the Print screen in Excel's Backstage view by clicking File→Print (or simply pressing Ctrl+P or Ctrl+F2). As you see here, the Print screen shows you at-a-glance your current print settings along with a preview of the first page of the printout.
You can also add a Print Preview and Print command button to the Quick Access toolbar that opens this Print screen in the Backstage view. Simply click the Customize Quick Access Toolbar button followed by the Print Preview and Print option on its drop-down menu to add this button at the end of the toolbar. Then click this button anytime you want to preview a report before sending it to your printer.
You can use the Print Preview feature in the Print screen before you print any worksheet, section of worksheet, or entire workbook. Because of the peculiarities in paging worksheet data, you often need to check the page breaks for any report that requires more than one page. The print preview area in the Print panel shows you exactly how the worksheet data will page when printed. If necessary, you can return to the worksheet where you can make changes to the page settings from the Page Layout tab on the Ribbon before sending the report to the printer when everything looks okay.
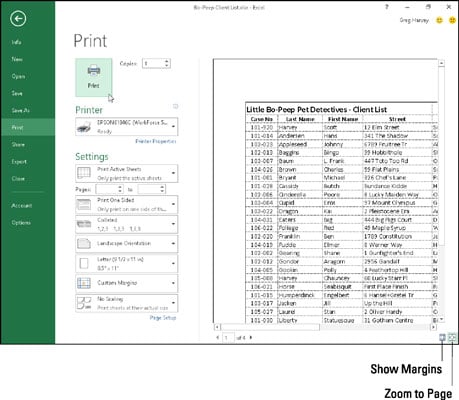
When Excel displays a full page in the print preview area, you can barely read its contents. To increase the view to actual size to verify some of the data, click the Zoom to Page button in the lower-right corner of the Print panel. Check out the difference here — you can see what the first page of the four-page report looks like after you zoom in by clicking this Zoom to Page button.
After you enlarge a page to actual size, use the scroll bars to bring new parts of the page into view in the print preview area. To return to the full-page view, click the Zoom to Page button a second time to deselect it.
Excel indicates the number of pages in a report at the bottom of the print preview area. If your report has more than one page, you can view pages that follow by clicking the Next Page button to the right of the final page number. To review a page you've already seen, back up a page by clicking the Previous Page button to the left of the first page number. (The Previous Page button is gray if you're on the first page.)
To display markers indicating the current left, right, top, and bottom margins along with the column widths, click the Show Margins button to the immediate left of the Zoom to Page button. You can then modify the column widths as well as the page margins by dragging the appropriate marker.
When you finish previewing the report, the Print screen offers you the following options for changing certain print settings before you send it to the printer:
Print button with the Number of Copies combo box: Use this button to print the spreadsheet report using the current print settings listed on the panel. Use the combo box to indicate the number of copies you want when you need multiple copies printed.
Printer drop-down button: Use this button to select a new printer or fax to send the spreadsheet report to when more than one device is installed. (Excel automatically displays the name of the printer that's installed as the default printer in Windows.)
Settings drop-down buttons: These include a Print What drop-down button with attendant Pages combo boxes: Use the Print What drop-down button to choose between printing only the active (selected) worksheets in the workbook (the default), the entire workbook, the current cell selection in the current worksheet, and the currently selected table in the current worksheet. Use the Pages combo boxes to restrict what's printed to just the range of pages you enter in these boxes or select with their spinner buttons.
Beneath the combo boxes, you find drop-down list buttons to print on both sides of each page in the report, collate the pages of the report, and switch the page orientation from Portrait (aligned with the short side) to Landscape (aligned with the long side). Additionally, you can select a paper size based on your printer's capabilities other than the default 8.5" x 11" letter, and customize the size of the report's margins (top, bottom, left, and right, as well as the margins for any header and footer on the page).