
Excel 2013 enables you to split the active worksheet window into two or four panes. After splitting up the window into panes, you can use the Excel workbook’s horizontal and vertical scroll bars to bring different parts of the same worksheet into view.
This is great for comparing the data in different sections of a table that would otherwise not be legible if you zoomed out far enough to have both sections displayed in the worksheet window.
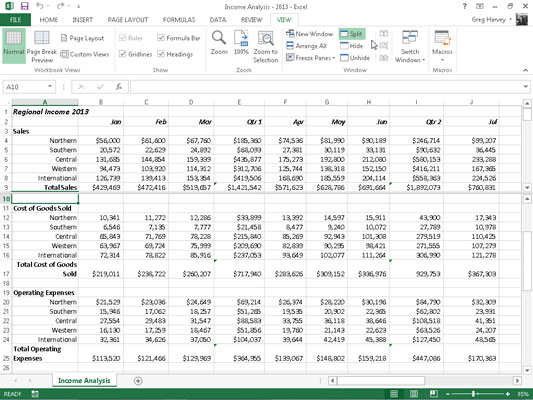
To split the worksheet window into panes, position the cell pointer in the worksheet in the cell whose top border marks the place where you want the horizontal division to take place and whose left border marks the place where you want the vertical division to take place before clicking the Split button on the View tab of the Ribbon (or pressing Alt+WS).
Excel then splits the window into four panes (two vertical and two horizontal) so that the cell pointer is in the upper-left corner of the pane on the lower right.
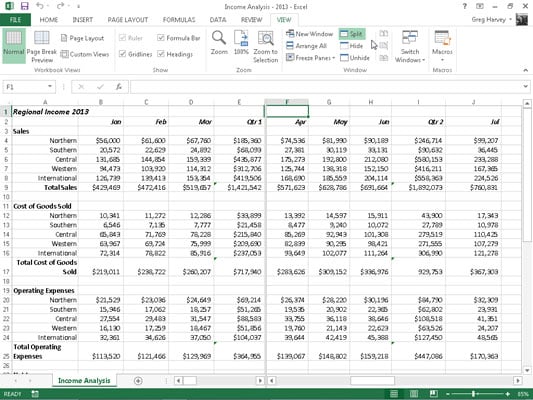
To split the window into two vertical panes, you put the cell pointer in the first row of the column where the split is to occur. To split the window into two horizontal panes, you place the cell pointer in column A of the row where the split is to occur.
Excel displays the borders of the window panes you create in the document window with a bar that ends with the vertical or horizontal split bar. To modify the size of a pane, you position the white-cross pointer on the appropriate dividing bar. Then as soon as the pointer changes to a double-headed arrow, drag the bar until the pane is the correct size and release the mouse button.
When you split a window into panes, Excel automatically synchronizes the scrolling, depending on how you split the worksheet. When you split a window into two horizontal panes, the worksheet window contains a single horizontal scroll bar and two separate vertical scroll bars. This means that all horizontal scrolling of the two panes is synchronized, while the vertical scrolling of each pane remains independent.
When you split a window into two vertical panes, the situation is reversed. The worksheet window contains a single vertical scroll bar and two separate horizontal scroll bars. This means that all vertical scrolling of the two panes is synchronized, while horizontal scrolling of each pane remains independent.
When you split a window into two horizontal and two vertical panes, the worksheet window contains two horizontal scroll bars and two separate vertical scroll bars. This means that vertical scrolling is synchronized in the top two window panes when you use the top vertical scroll bar and synchronized for the bottom two window panes when you use the bottom vertical scroll bar.
Likewise, horizontal scrolling is synchronized for the left two window panes when you use the horizontal scroll bar on the left, and it’s synchronized for the right two window panes when you use the horizontal scroll bar on the right.

To remove all panes from a window when you no longer need them, you simply click the Split button on the View tab of the Ribbon, press Alt+WS, or drag the dividing bar (with the black double-headed split arrow cursor) either for the horizontal or vertical pane until you reach one of the edges of the worksheet window.
You can also remove a pane by positioning the mouse pointer on a pane-dividing bar and then, when it changes to a double-headed split arrow, double-clicking it.
Keep in mind that you can freeze panes in the window so that information in the upper pane and/or in the leftmost pane remains in the worksheet window at all times, no matter what other columns and rows you scroll to or how much you zoom in and out on the data.