


After you fully update your LinkedIn profile, your next goal is probably to share it with the entire world, not just your LinkedIn network. The best way to accomplish this is to set up your profile so that your full profile is available for public viewing.
Setting your profile to full public view gives you several advantages:
Anyone looking for you has a better chance of finding you because of the increased information tied to your name.
When you make your profile public, it gets indexed in both the Google and Yahoo! search databases. This makes your online identity accessible and controlled by your access to LinkedIn.
You give increased exposure to any companies, projects, or initiatives that you're working on by having that credit published on your LinkedIn profile.
When you're ready to set your profile to Public, just follow these steps:
Go to LinkedIn and log in. Hover your mouse over the Profile link in the top navigation bar, and click Edit Profile.
 LinkedIn and log in. Hover your mouse over the Profile link in the top navigation bar, and click Edit Profile.">
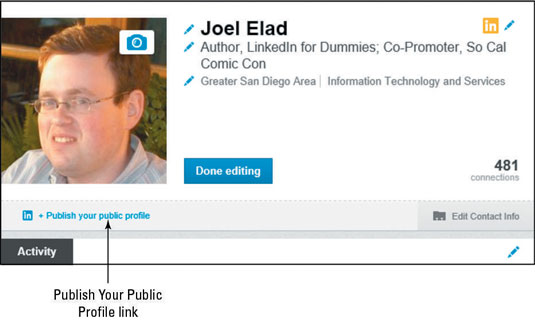
You arrive at your profile page. Below your photo, headline, and name, look for the Publish Your Public Profile link.
Click the Publish Your Public Profile link.
This step takes you to the Public Profile settings page.
To set a custom URL for your LinkedIn profile, click the Customize Your Public Profile URL link and fill in the text box that appears.

You can type anywhere between 5 and 30 numbers or letters, but don’t include any spaces, symbols, or special characters. When you’re done, click the Set Custom URL button to save your changes.
Keep your URL changes to a minimum (preferably, just set it once and leave it) so that everyone knows how to get to your profile, especially search engines. (If you change your custom URL later, the previous custom URL is no longer valid.) Otherwise, you’ll have different versions of your profile with different URLs in different places on the Internet.
Scroll down the Profile Content section on the page and determine what parts of your LinkedIn profile you want available for public viewing.
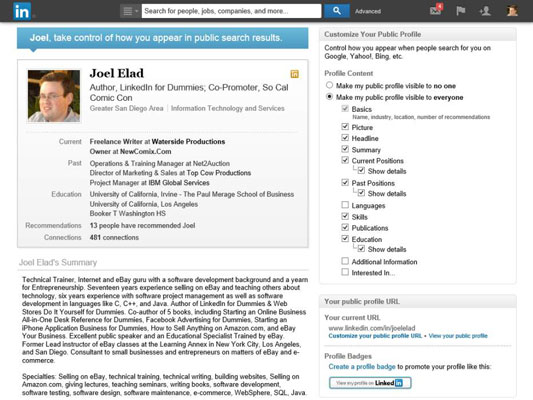
Pick which sections of your LinkedIn profile are public. To reveal a section on your public profile, simply select the check box next to that section. Your basic information is already selected for you by default, but you can decide whether to add your education, positions, groups, or any other indicated section. As you add sections, the preview of your profile page is updated.
Your changes are automatically saved as you select each section.
Click the Go Back to Home Page link to go back to your main LinkedIn page, or click any of the links in the top navigation bar to go about your business.
Whenever you’re editing your public profile settings, you can scroll down and click the View Your Public Profile link to open a new browser window and see your public profile.
