Facebook has a lot of marketing tools, and you can use them once you set up your company’s Facebook Page. The page is your central switchboard, customer service center, and water cooler, all in one. Almost any content you share as your company will link back to your company Page. It’s also where you can update your entire Facebook community.
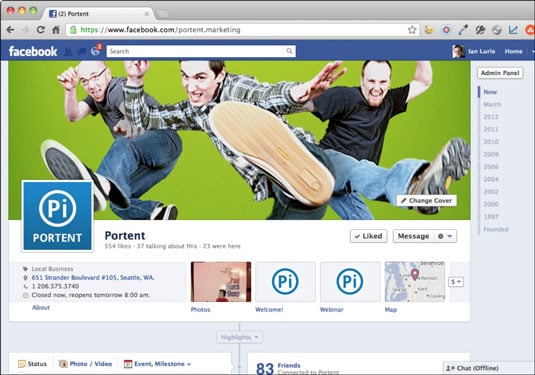
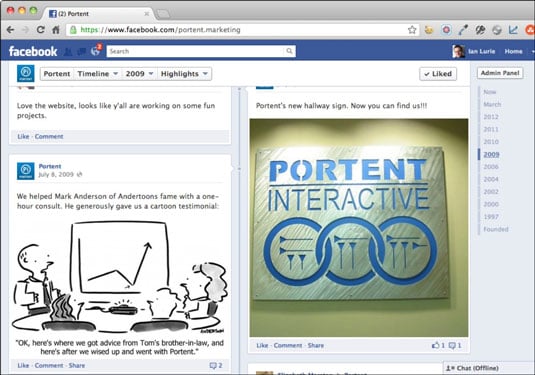
Before you build your Page, take a look at a few existing ones. Facebook brand Pages have changed since Facebook first rolled out Pages. They now use the Facebook Timeline — a chronological page with most recent events at the top, and older events further down on a continuous scroll.
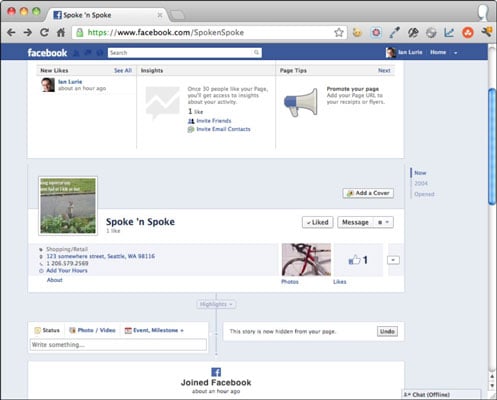
Here are the basic page components, as you scroll down:
A cover image as your opening statement: Use something eye-catching and relevant, but not a sales pitch or a branded image. Facebook’s Terms of Service doesn’t allow a sales pitch in the cover image.
A profile picture: This image gets superimposed over the cover image. This is a good place to use your company logo; it provides the branding you need for the top page area.
Basic company information and your latest photos: You can also place events listings or highlights in that space. More on this in a moment.
The Timeline: The Timeline shows any updates, events, photos or other content you post, and any mentions of your brand by others.
Update area: This is a Facebook mainstay. The Write Something area lets you post updates.
You can also see posts, mentions by others, and shares.
To create a Facebook brand Page:
Log into your Facebook personal account.
Only someone with a personal Facebook account can create a Facebook business Page. You can then assign someone else admin access for that Page, but you must have a personal account to get started. If you don’t have one, now’s a good time to get one.
Go to Facebook’s link to create pages.
Choose the page category:
Local Business or Place: If you’re a local business who depends on walk-in traffic
Company: If you’re a company that does business over a wider area
Brand or Product: If you’re going to be marketing a single brand or product that’s part of a larger company
Artist, Band, or Public Figure: If you’re selling your own presence or art — performers, speakers, trainers and others
Entertainment: If you’re marketing one creation or project
So, if you’re a scriptwriter, you create an Artist page to represent yourself. Then you create an Entertainment page to represent your new movie.
Cause or Community: If you’re a community organization, represent a political party, or are otherwise seeking to build a following for something non-commercial
You can change the page category later by clicking the Edit Page link.
Select a subcategory and enter your address.
The subcategory is the kind of business you’re in, such as Shopping/Retail.
Agree to the terms of service and click the Get Started button.
The setup wizard starts.
Upload a profile picture. Then click Next.
The profile picture is what appears when you post or otherwise interact on Facebook. If you’re not sure what to use, you can use your company logo. You can upload the image from your computer, or import it from your company website. It should be 180 x 180 pixels; if it’s larger, Facebook resizes and crops it for you.
Enter information about your company.
Enter a short description of your business, your website address, and links to your other relevant social media profiles and listings (Twitter, Google+, and Google Places). Click the Add Another Site to add additional links.
Click the Save Info button.
Select your Facebook web address.
The first part of your Page address is www.facebook.com. But you can choose the rest of the address. Any unique text will work.
It is very, very difficult to change your Facebook Page address once you select it, so be sure you have one you like.
Click the Set Address button.
Facebook reserves your Page address and sets up the Page. Take a look at the Page. At the top is the admin panel. That lets you change your Page, view statistics, add updates, and generally check in on how things are going.