
Windows depends on you to make settings that customize its behavior on your computer. This is good news for you because the ability to customize Windows gives you a lot of flexibility in how you interact with it.
One way to customize Windows to work with physical challenges is to work with the Speech Recognition feature, which allows you to input data into a document using speech rather than a keyboard or mouse.
If you have dexterity challenges from a condition such as arthritis, you might prefer to speak commands, using a technology called speech recognition, rather than type them. Attach a desktop microphone or headset to your computer, enter "Speech recognition" in Cortana's search field, and then press Enter.
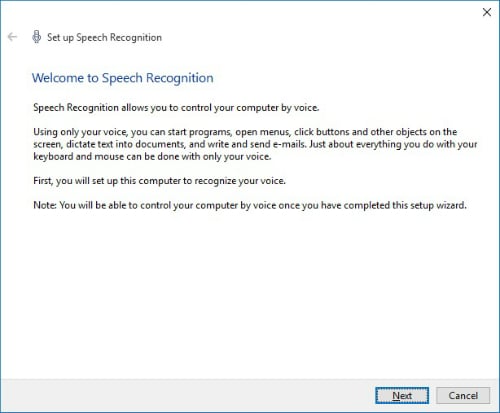
The Welcome to Speech Recognition message (see the following figure) appears; click Next to continue. (Note: If you've used Speech Recognition before, this message won't appear. These steps are for first-time setup).
In the resulting window (shown in the following figure), select the type of microphone that you're using and then click Next. The next screen tells you how to place and use the microphone for optimum results. Click Next.

In the following window (see the following figure), read the sample sentence aloud. When you're done, click Next. A dialog box appears telling you that your microphone is now set up. Click Next.

During the Speech Recognition setup procedure, you're given the option of printing out commonly used commands. It's a good idea to do this, as speech commands aren't always second nature!
A dialog box confirms that your microphone is set up. Click Next. In the resulting dialog box, choose whether to enable or disable document review, in which Windows examines your documents and email to help it recognize your speech patterns. Click Next.
In the resulting dialog box, choose either manual activation mode, where you can use a mouse, pen, or keyboard to turn the feature on, or voice activation, which is useful if you have difficulty manipulating devices because of arthritis or a hand injury. Click Next.
In the resulting screen, if you want to view and/or print a list of Speech Recognition commands, click the View Reference Sheet button and read or print the reference information, and then click the Close button to close that window. Click Next to proceed.
In the resulting dialog box, either leave the default Run Speech Recognition at Startup check box to automatically turn on Speech Recognition when you start your computer or deselect that setting and turn Speech Recognition on manually each time you need it. Click Next.
The final dialog box informs you that you can now control the computer by voice, and offers you a Start Tutorial button to help you practice voice commands. Click that button and follow the instructions to move through it, or click Skip Tutorial to skip the tutorial and leave the Speech Recognition setup.
When you leave the Speech Recognition setup, the Speech Recognition control panel appears (see the preceding figure). Say, "Start listening" to activate the feature if you used voice activation, or click the Microphone on the Speech Recognition control panel if you chose manual activation. You can now begin using spoken commands to work with your computer.
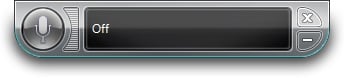
To stop Speech Recognition, say, "Stop listening" or click the Microphone button on the Speech Recognition control panel. To start the Speech Recognition feature again, click the Microphone button on the Speech Recognition control panel.