Once you have your Kindle Paperwhite in hand, and you've figured out how to turn it on, your next task is to select a language. This is the first step in registering your device. If you are bilingual, don't worry, you can change the language at any time. After powering on your device, and getting over your initial excitement, it displays a screen.
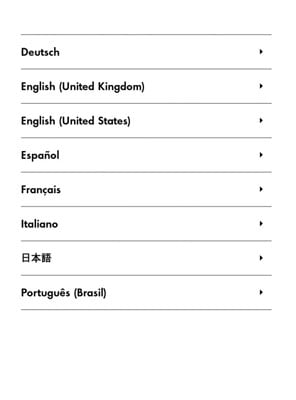
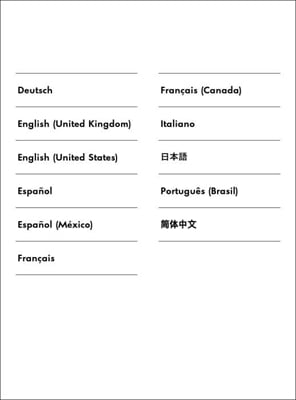
Tap the language you want to use for the device, and then tap OK or Next.
If you want English but would prefer to see the time displayed using a 24-hour clock (for example, 3 pm will appear as 15:00), choose English (UK).
Note that you can change your language choice at any time on a first-generation Kindle Paperwhite by tapping Menu→Settings→Device Options→Language and Dictionaries. On the second-generation Kindle Paperwhite, tap Menu→Settings→Device Options→Language and Dictionaries→Language.
After you choose a language, the next step in registering your device is to connect to a Wi-Fi network. If no Wi-Fi network is in range, you can add a network later.
If you do not connect to a Wi-Fi network and you do not have a 3G Kindle Paperwhite you will not be able to complete the registration process, the step after setting up Wi-Fi. You can register your device manually.