
In Windows 7, you can scan photos (or anything else, for that matter) directly into Windows Live Photo Gallery. Although you can also scan photos and documents using Windows Fax and Scan, you’ll get a superior image and higher resolution if you scan your photos with Windows Live Photo Gallery.
WLPG uses the same scanning routines that you see throughout Windows. However, the dialog box details may vary depending on which kind of scanner you have installed.
Choose Start→All Programs→Windows Live Photo Gallery.
If you don’t find the application there, it probably means you don’t have it. Windows Photo Gallery is no longer included on the installation disc, but you can download it for free from the Windows Live Essentials download page.
Click File→Import from a Camera or Scanner.
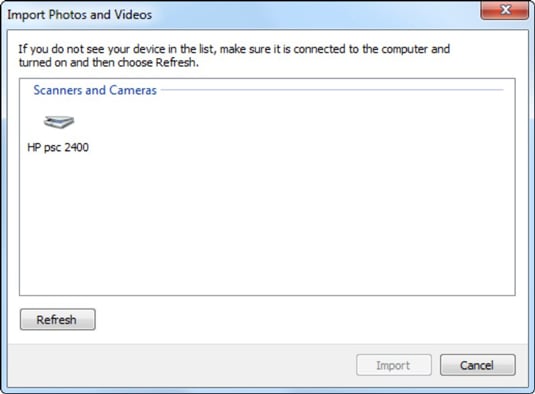
You see the Import Pictures and Videos dialog box, and it should list your scanner.
If your scanner doesn’t show up, make sure it’s plugged in and turned on. If it’s still not there, click Start→Devices and Printers and click Add a Device. Follow the onscreen instructions to add your scanner.
Click your scanner if it isn’t already selected, and click the Import button.
WLPG shows you the New Scan dialog box.
Stick the page you want to scan into your scanner and click Preview.
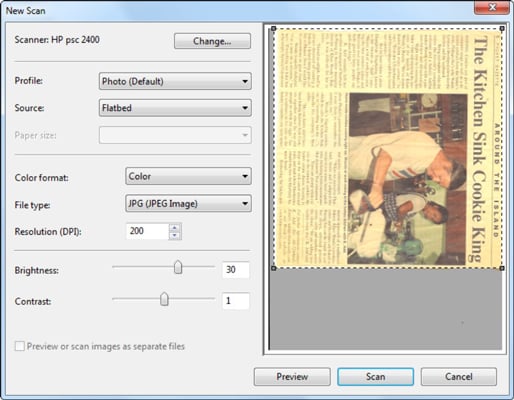
The scanner works away and a picture of the page appears onscreen.
Adjust the settings based on how the preview looks. Click Preview again to see the modified image.
If you want to zoom in on a specific location, click and drag the resizing handles at the corners. You can also adjust the Brightness and Contrast sliders.
When you’re happy with the preview, click Scan.
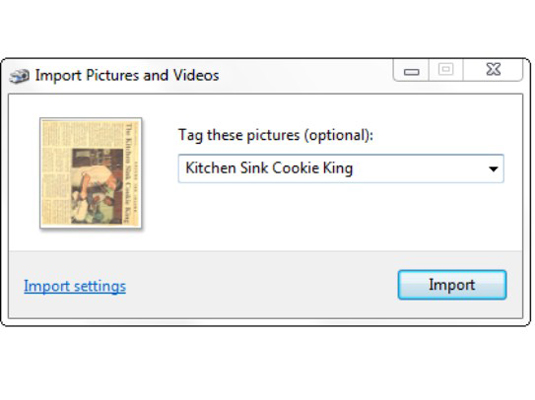
The scanner hums again. Then Photo Gallery invites you to tag the pictures to make them easier to find in the future.
Click Import Settings.
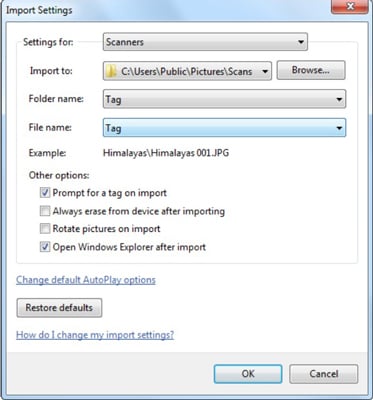
Scanner import settings are very similar to regular photo import settings in WLPG.
When you’re happy with your import settings, click OK.
The Import Photos and Videos window returns.
Consider putting your scans in one of the Public folders on your computer so that they will automatically be found by WLPG and other library-driven software in Windows 7.
Click Import.
The Scanner kicks in and deposits your scan in the folder selected in the preceding step.