Most homeowners will need to replace a ceiling fixture at some point. Knowing how to properly replace a ceiling fixture can save on electrician’s fees. Residential ceiling fixtures come in many different shapes, and there are many ways to attach them to the ceiling. Ceiling fixtures hang by two screws that attach the fixture base to the outlet box or to a mounting strap in the outlet box.
No matter how you suspend a fixture from the ceiling, the wiring is simple. Other wires may pass through the box, but you have to deal with only three wires: a colored wire (usually black), a white wire, and a green ground wire. These three wires are joined together with twist-on wire connectors.
Turn off the power to the fixture or the whole house.
You may find several pairs of wires in the ceiling box. Some of these wires may be wired to different circuits than the fixture you’re working on. Be safe: Use a circuit tester or turn off the power to the whole house to ensure that all the wires in the box are dead.
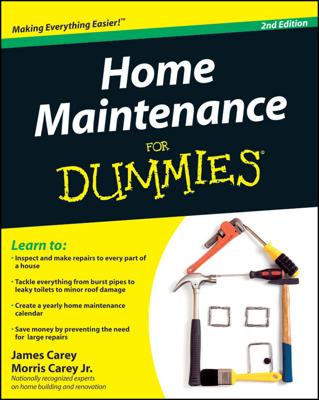
Remove the light bulb cover.
Each fixture has a different way of mounting the cover. Many have a screw right in the middle and some are around the outside edge.
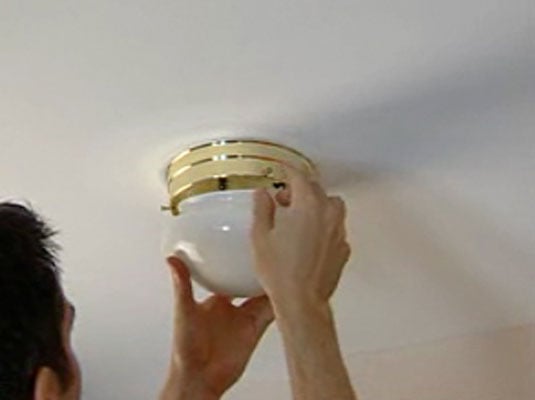
Remove the light bulbs from the fixture.
It helps to have a friend work with you so that they can hold the items as you hand them down.
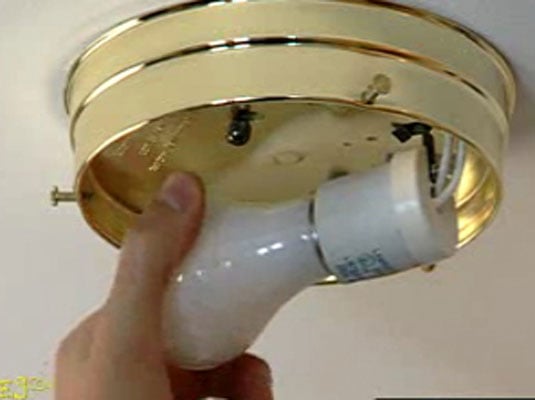
Unscrew the screws or nuts holding the fixture base to the ceiling box.
Use a cup or bowl to keep all the bits and pieces in one place.
Lower the fixture base.
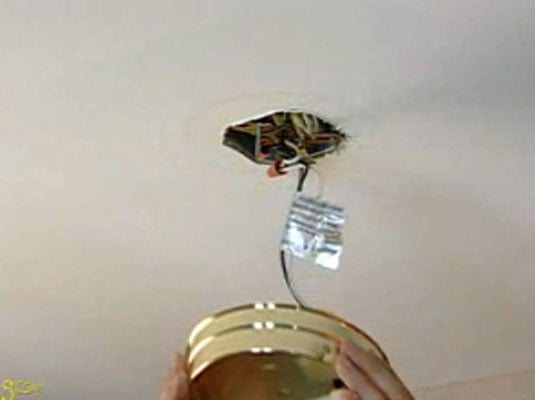
The base will be hanging from the wiring.
Remove the electrical tape or wire nuts from the black (hot) wire, white (neutral) wire, and, if present, green (ground) wire.
Again keep any wire nuts with the rest of the screws and nuts.
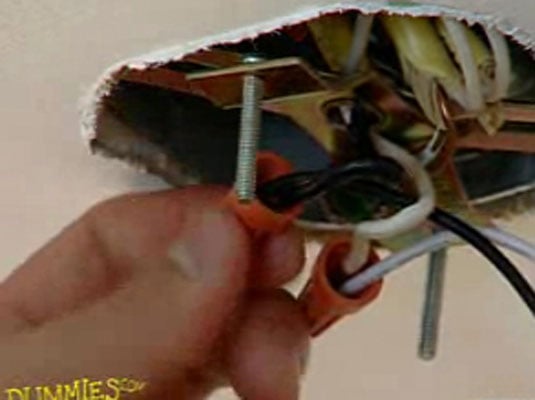
Attach the wires from the new fixture to the corresponding wires in the ceiling box.
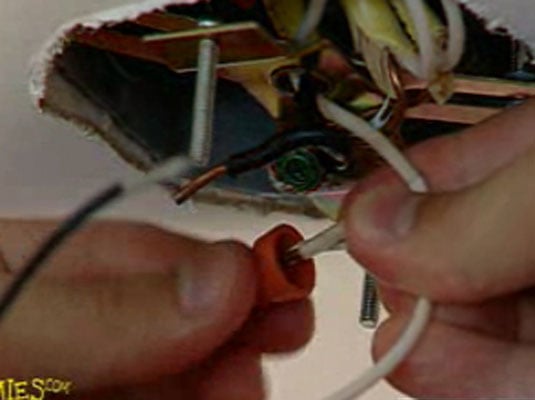
Use the wire nuts that you saved from the previous fixture. If the old fixture used electrical tape, you might want to use wire nuts this time.
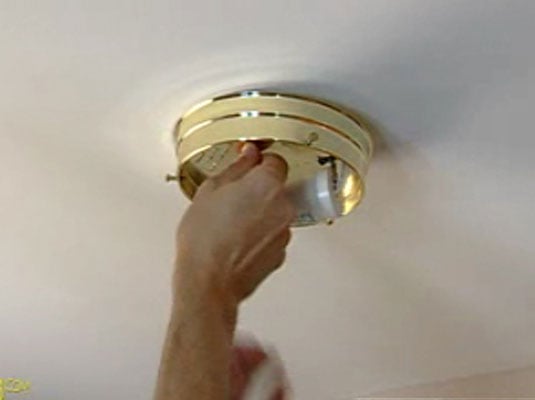
Raise and position the new base plate and screwing the bolts through it to attach it to the mounting strap.
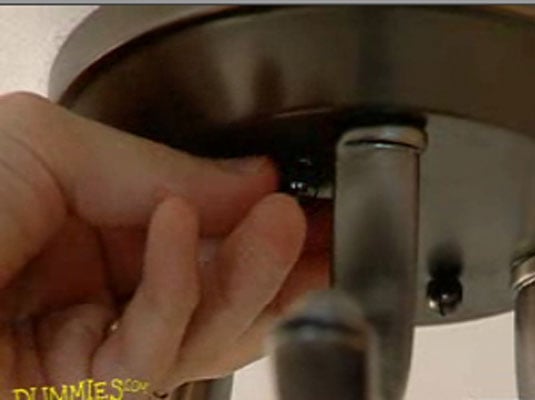
Most new light fixtures come with new mounting bolts.
Screw in new light bulbs, install the cover, and turn on the power.

It’s time to step back and admire your handiwork!