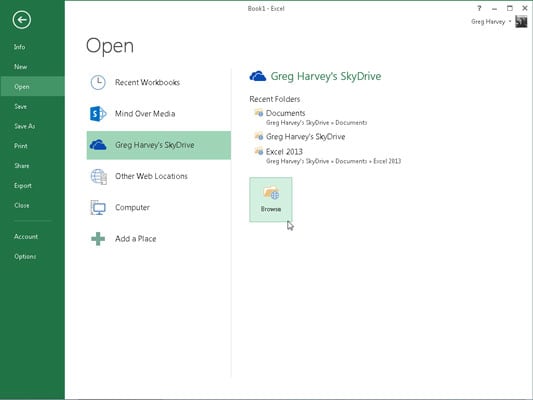
When the Open screen is first displayed in the Excel 2013 Backstage, the Recent Workbooks option in the Places pane on the left is selected. If the file you want to open isn’t shown in this list in the right-hand pane, you need to select one of the other Places options:
Windows Live’s SkyDrive to open a workbook file that’s saved in the cloud in one of your folders on your Windows Live SkyDrive. When you select this option, the right-hand pane lists folders on your SkyDrive that you accessed recently as well as Browse button that enables to locate other folders in the Open dialog box.
Computer to a workbook file saved locally on your computer’s hard drive or a network drive to which you have access. When you select this option, the right-hand pane lists folders on your local and network drives that you accessed recently, as well as a Documents, Desktop, and Browse button that enables to locate workbook files in their respective folder in the Open dialog box.
Add a Place to designate add access to a SharePoint site or your SkyDrive account. When you select this option, the right-hand pane contains an Office365 SharePoint and SkyDrive button.
Click the Office365 SharePoint button to log into a SharePoint site for which you have a user ID and password to add its folders to the Open screen under the Computer option. Select the SkyDrive option to log into your Windows Live account (for which you have a user ID and password) to add your space in the cloud to the Open screen under the Windows Live’s SkyDrive option.