When knitting socks from the toe up, you can customize the length of the leg and cuff based on preference, fit, or yarn supply. Continue working in the round in stockinette stitch until the leg is approximately 1 inch less than the desired length. Work 1 inch of ribbing or other cuff treatment of choice.
You can add many different types of stitch patterns to the leg of your sock, such as textured stitches, lace, and cable patterns are all fun to work and add interest.
The number of stitches in the stitch pattern repeat should divide evenly into your total number of sock stitches for a seamless pattern. You can also increase or decrease the number of stitches in the leg to fit your stitch pattern.
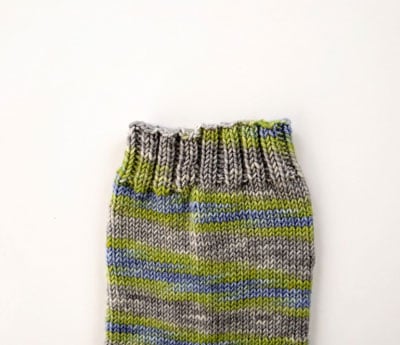
You can greatly change the look of your socks by adding an interesting stitch pattern to the cuff. If you simply bind off a stockinette sock, you will get a rolled edge—great for casual socks, but it might not hold the sock up on the leg.
Ribbing
Ribbing is the traditional cuff treatment for socks.
For 1 x 1 ribbing, * k1, p1 * and repeat from * to * around. Repeat this round.
For 2 x 2 ribbing * k2, p2 * and repeat from * to * around. Repeat this round.
More complex ribbings include patterns with lace stitches, cables, or color work.
Bind Off
Binding off at an appropriate tension is important in toe-up socks. If the bind-off is too tight, it will be uncomfortable or perhaps impossible to get the sock on or over the heel.
Work the first 2 stitches of the round in pattern.
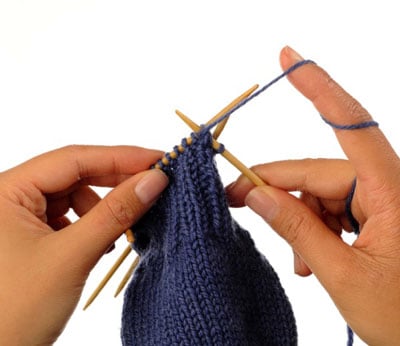
With the left needle tip, lift up the first stitch on the right needle and pull it over the second, and then drop off the needle.
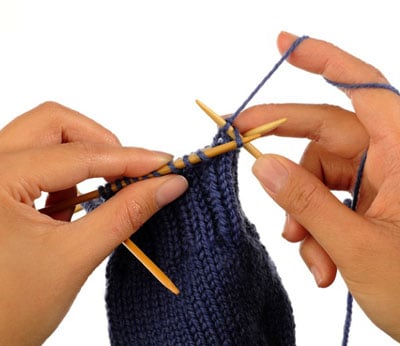
Work 1 more stitch of the round in pattern, making sure to leave the new stitch loose on the needle.
Repeat steps 2 and 3 until you have bound off all the stitches—1 stitch remains on the right needle.
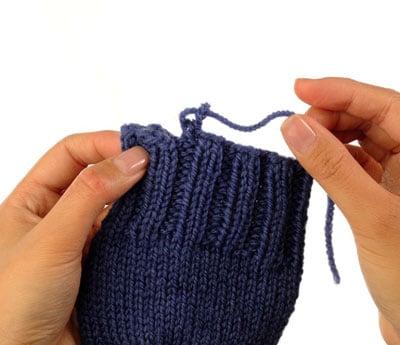
Cut the yarn leaving several inches of tail and thread through this loop to form a knot.