
Installing track lighting allows you to direct lighting exactly where you want it. If you know how to install track lighting, you have the flexibility of attaching individual lights anywhere along a long line that can run down a wall or ceiling. The flexibility of track lighting makes it a good choice for highlighting a specific area, like a wall of artwork or down a long hallway.
Track lighting is generally powered by a single ceiling box. The end of the track is attached to a plate that screws to the ceiling box. The wiring scheme is exactly the same as for any fixture. You connect like-colored wires together, and the green or bare ground wire attaches to the grounding terminal on the track or cover plate.
Because track systems vary, become familiar with the assembly before you begin following the instructions to install it.
Start by turn offing the power from the fuse or circuit panel.
You may find several pairs of wires in the ceiling box. Some of these wires may be controlled by different circuits than the fixture you’re working on. Be safe: Use a circuit tester or turn off the power to the whole house to be sure that all wires in the box are dead.
Remove the light bulb cover.
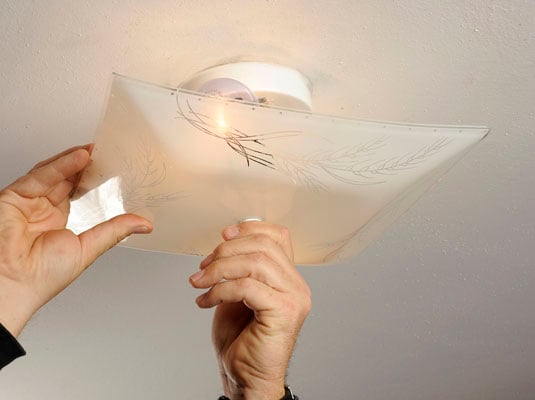
Each fixture has a different mount for the cover. Many have a screw right in the middle and some are around the outside edge.
Remove the light bulbs from the fixture.
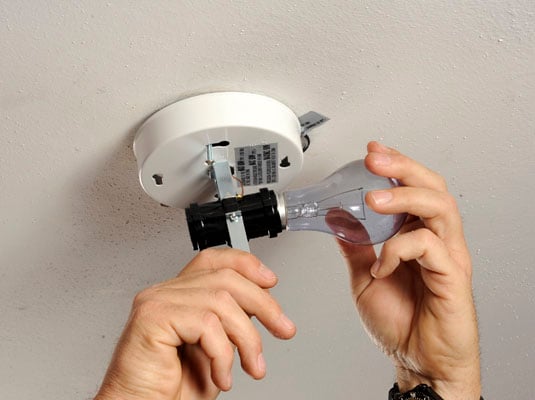
It helps to have a friend work with you so that they can hold the items as you hand them down.
Unscrew the screws or nuts holding the fixture base to the ceiling box.
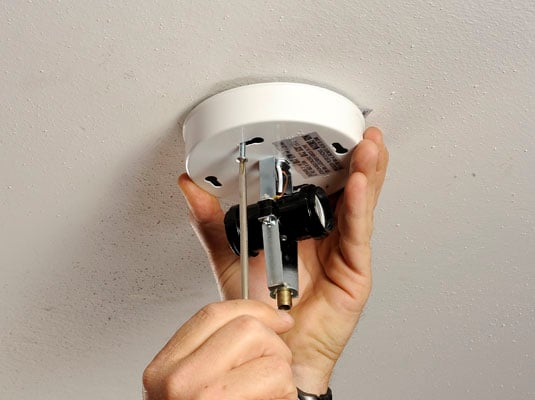
Use a cup or bowl to keep all the bits and pieces in one place.
Lower the fixture base.
The base will be hanging from the wiring.
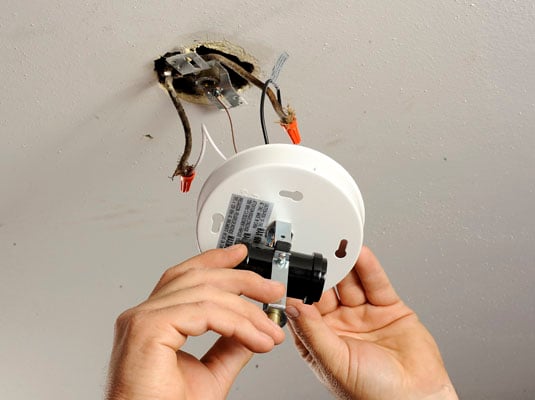
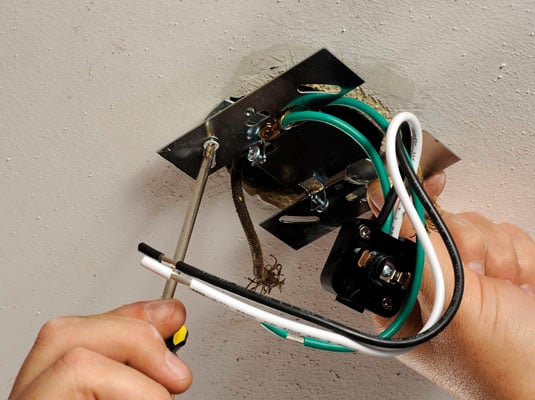
Pull the wires through the ceiling box and remove the electrical tape or wire nuts from the black (hot) wire, white (neutral) wire, and, if present, green (ground) wire.

Again keep any wire nuts with the rest of the screws and nuts.
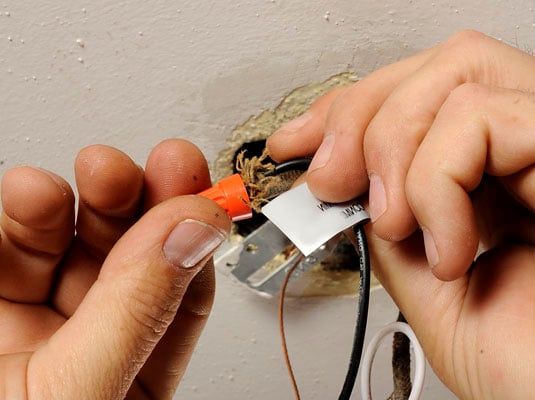
Attach the mounting plate to the ceiling box with the screws provided.
Use the wire nuts that you saved from the previous fixture. If the old fixture used electrical tape, you might want to use wire nuts this time.
Locate the position of the mounting screws on the ceiling.
Use the lighting track as a template. Have a helper hold the track in place while you use a pencil to transfer the location of the mounting holes in the track to the ceiling.
Drill a hole for the mounting toggle bolts in the ceiling.
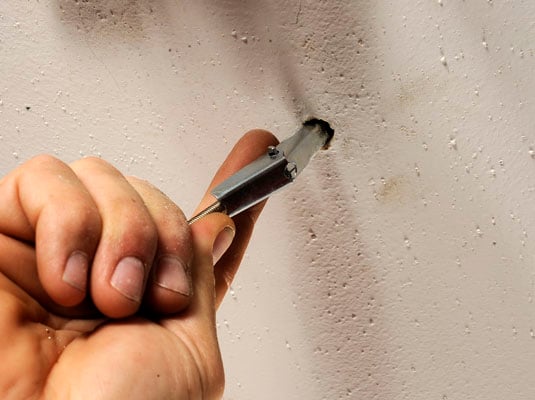
Most manufacturers supply the fasteners to use. If they don’t, check the instructions for the systems weight and get toggle bolts for the mounting. This type of anchor holds the most weight and isn’t difficult to install.
Follow the manufacturer’s instructions for securing the track to the ceiling.
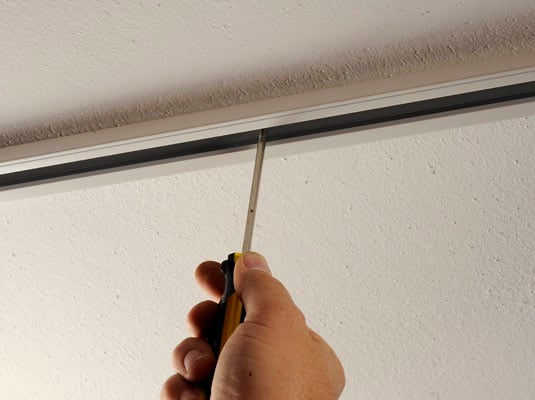
Thread the screw through the mounting hole in the track and then reinstall the toggle on the screw. After you push the folded toggle through the hole in the ceiling, it unfolds inside the ceiling and provides a secure grip. Tighten the screw to pull the track tight to the ceiling.
Pull the wires through the end of the track and attach them to the screw terminals.

The black or colored wire goes on the brass-colored screw and the white wire on the silver screw. Attach the bare or green grounding wire to the green screw.
Install the cover plate on the end of the track.
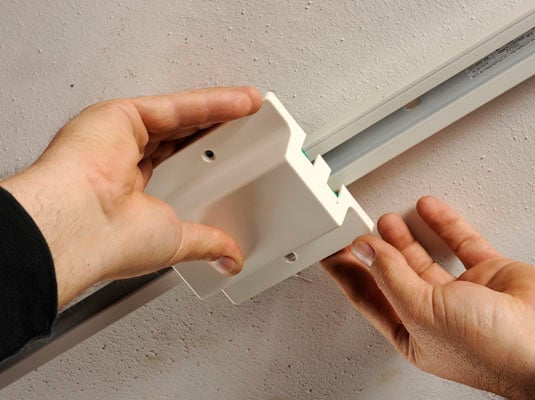
The cover plate hides the wiring.
Follow the manufacturer’s directions for mounting the light fixtures.
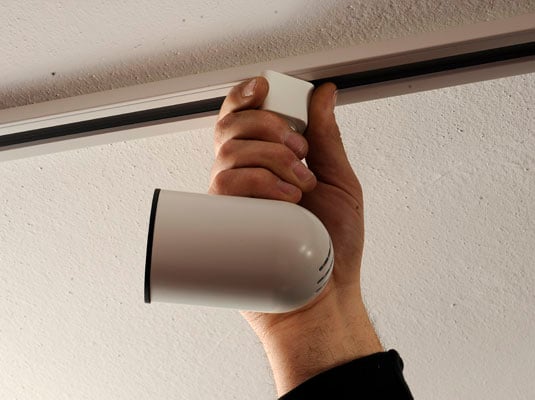
Most fixtures attach by slipping a mounting flange into the center channel of the track and then turning the fixture to force the flange under the track so that it contacts the internal wiring. Check the instructions to determine the maximum number of fixtures your track can handle. Overload the circuit and the breakers will pop so much that you’ll think Orville Redenbacher is living in your basement.