Logic Pro X isn’t just an audio/MIDI sequencer. You can also import video and add your own movie score. Film and TV scoring with Logic Pro X is intuitive, and you’ll find that adding movies to your project is simple.
Adding a movie to your project
You can add QuickTime movies to your project by using any of the media browsers. You can also add a movie by choosing File→Movie→Open Movie (Option-Command-O). Navigate to the movie file in the dialog that appears and click Open.
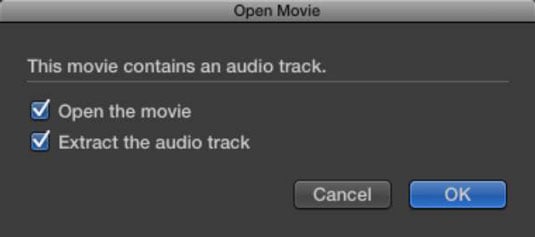
The Open Movie dialog asks you to open the movie; if the movie contains an audio track, you can extract the audio track into your project. Click OK and the movie is added to your project and the audio is added to the track list.
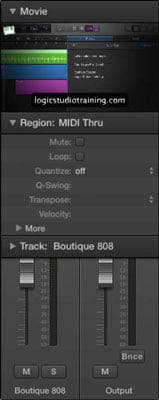
Display the inspector, and the movie appears at the top of the inspector. You can double-click the movie to open the video in a separate window.
Exploring the movie track
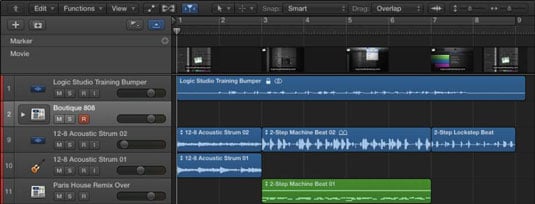
After you add a movie to your project, you can display the movie track. Choose Track→Global Track→Show Global Tracks, and the global tracks open above the tracks area. (If the movie track isn’t visible, choose Track→Global Track→Configure Global Tracks, select the Movie check box, and click Done.) The movie track displays thumbnails of the video and is adjustable by dragging the bottom edge of the movie track.
Creating movie scene markers
You can create movie scene markers that are locked to absolute time instead of relative time. This means they won’t move if you change the tempo of your project. Movie scene markers are great for timing your music to the rhythm of the scene. To create movie scene markers, choose Navigate→Other→Create Movie Scene Markers and select one of the following options:
Auto Range: Create markers based on the marquee selection, project cycle, selected regions, or all three.
Marquee Selection: Create markers based on the marquee selection.
Cycle Area: Create markers based on the cycle area.
Selected Regions: Create markers based on the selected regions.
Entire Movie: Create markers based on the entire movie.
After you select the option for creating movie scene markers, the movie will be analyzed and markers will be created. Markers are created based on a fixed threshold for scene cuts and work well for most types of video.

Importing audio from your movie
If you’ve already imported a movie but not the audio, or if you want to import audio from a movie without importing the movie, choose File→Movie→Import Audio from Movie. The audio will be added to a track in the track list. Importing audio is useful if you need to build a soundtrack around dialog or sound effects.