Prepare your images before you slap them down in Word 2013. That’s because Word lets you work with and edit graphics, even though it’s not a graphics program. Still, Word offers some touch-up features for dealing with a document’s illustrations.
Use Word’s Undo command, Ctrl+Z, to undo any image editing boo-boos.
When you're using a document theme, theme effects are automatically applied to any graphic that’s inserted into your document.
How to resize an image
To change an image’s size on the page, heed these steps:
Click to select the image.
The image grows handles.
Use the mouse to drag one of the image's four corner handles inward or outward to make the image smaller or larger.
If you press and hold the Shift key as you drag the mouse, the image is proportionally resized.
You can use the buttons in the Format tab’s Size area to nudge the image size vertically or horizontally or to type specific values for the image’s size.
How to crop an image
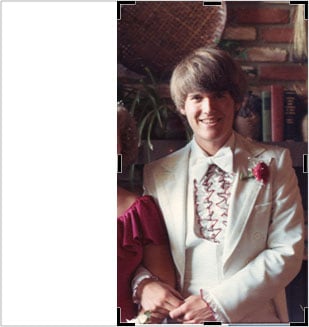
In graphics lingo, cropping works like taking a pair of scissors to the image: You make the image smaller, but by doing so, you eliminate some content, just as an angry, sullen teen would use shears to remove his cheating scumbag former girlfriend from a prom picture.
To crop, click the image once to select it, and then click the Crop button in the Format tab’s Size group. You’re now in Cropping mode, which works much like resizing an image: Drag a cropping handle inward, which slices off a side or two from the image.
To finish cropping, click the Crop command button again.
How to rotate an image
You have two handy ways to rotate an image, neither of which involves turning the computer’s monitor or craning your neck to the point of chiropractic necessity.
To freely rotate an image, use the mouse to grab the rotation handle at the top of the image. Drag the mouse to twist the image to any angle.
For more precise rotation, use the Rotate menu found in the Format tab’s Arrange group. From the menu, you can choose to rotate the image 90 degrees to the left or right or to flip the image horizontally or vertically.
How to change an image’s appearance
Pictures can be manipulated by using the tools found in the Adjust group on the Picture Tools Format tab. Only a few tools are available, but the good news is that each tool’s button shows a menu full of options previewing how the image will be affected. To make the change, simply choose an option from the appropriate button’s menu. Here are some suggestions:
Brightness and contrast settings are made from the Corrections button menu.
To wash out a picture you placed behind your text, choose the Washout color from the Recolor area of the Color button’s menu.
To convert a color image to monochrome (“black and white”), choose the first item, Saturation 0%, from the Color Saturation list on the Color button’s menu.
A slew of interesting, artistic brush strokes and other effects are found on the aptly named Artistic Effects button menu.