


Rectangles and circles aren’t the only two shapes that PowerPoint 2013 can draw automatically. The Shapes gallery includes many other types of shapes you can draw, such as pentagons, stars, and flowchart symbols.
The following steps explain how to draw a shape:
Click the Shapes button in the Illustrations group of the Insert tab.
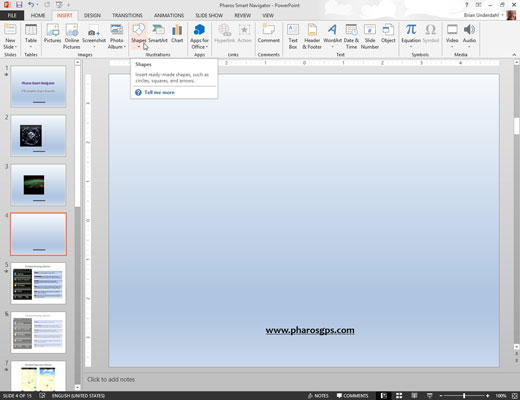
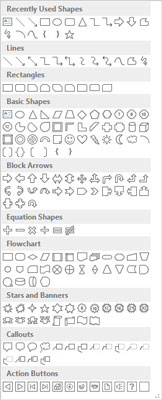
The Shapes gallery appears.
Select the shape you want to insert.
When you select one of the shapes, the Shapes gallery disappears and PowerPoint is poised to draw the shape you selected.
Click the slide where you want the shape to appear and then drag the shape to the desired size.

Hold down the Shift key while drawing the Shape to create an evenly proportioned shape.
When you release the mouse button, the Shape object takes on the current fill color and line style.
(Optional) Start typing if you want the shape to contain text.
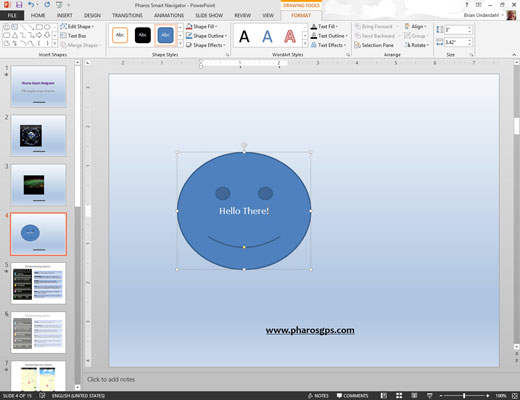
After you’ve typed your text, you can use PowerPoint’s formatting features to change its typeface, size, color, and so on.

