
Although HTML has long had support for images, JavaScript's canvas interface adds new life to web images. Images can be displayed inside a canvas, where they can be integrated with the vector-drawing techniques of the canvas API. You can also select a portion of an image to display and apply the various transformations to your image to create interesting compositions and animations.
How to draw an image on the canvas
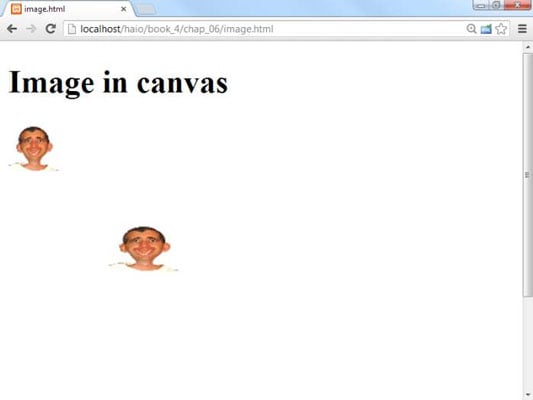
The easiest way to use an image in a element is to use an image that is already available on the web page. You can put an image on the page with the ordinary
An alternate approach is to create an Image object in JavaScript and apply the src attribute to connect that image to a specific image file. For examples of both techniques, consider the following HTML code:
 <img class = "hidden"
  id = "goofyPic"
  src = "andyGoofy.gif"
  alt = "Goofy pic of me" />
 <canvas id = "drawing"
   height = "400"
   width = "400">
 <p>Canvas not supported</p>
 </canvas>
The following JavaScript code displays the image in the canvas:
 function draw(){
 //from image.html
 var drawing = document.getElementById("drawing");
 var con = drawing.getContext("2d");
 var goofyPic = document.getElementById("goofyPic");
 con.drawImage(goofyPic, 0, 0, 50, 50);
 var image2 = new Image();
 image2.src = "andyGoofy.gif";
 con.drawImage(image2, 100, 100, 70, 50);
 } // end draw
Here's how it's done:
Create the image in the main page.
The easiest way to access an image is to use ordinary HTML to embed the image in the main page. If you wish, you can hide the
tag with CSS code so that only the version in the canvas is visible.Create a JavaScript variable for the image.
Use the ordinary document.getElementById() mechanism to create a variable referring to the image.
Draw the image on the canvas.
The drawImage() function takes five parameters. The first is the name of an image object (It must be the name of a JavaScript image object, not just the filename of an image.) The next two parameters are the X and Y values of the top-left corner of the image, and the last two parameters are the size of the image (width and height.)
Create a JavaScript Image object.
If you don't want to embed an image in the page, you can use JavaScript to create an image dynamically. Use the new Image () constructor to build a new image.
Change the image's property.
If you create a JavaScript image, you must specify the src attribute to indicate the file associated with the image. It might take some time for the image to load.
The image won't display until it has loaded from the server. In most cases, this won't be a problem, but sometimes you'll find you need to delay your program until the image has finished loading. The image object has an onload property that accepts a callback function. Use this technique to wait until your drawing finishes.
image.onload = finishDrawing;
function finishDrawing(){
 //rest of drawing code goes here
}
Drawing part of an image
Sometimes you'll want to draw a small part of the original image. This program focuses in on the center of the goofy face:
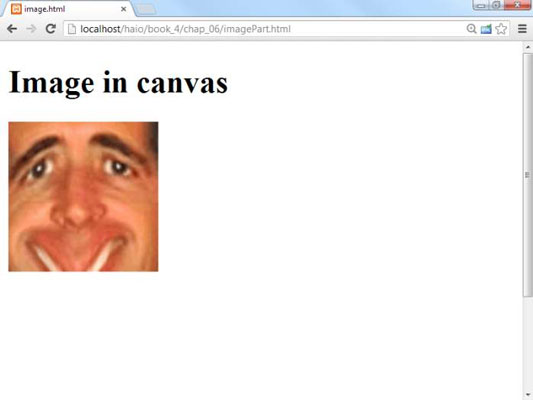
It's quite easy to draw part of an image. Use the same drawImage() command, but this time use a version with nine parameters:
con.drawImage(goofyPic, 60, 70, 90, 90, 0, 0, 150, 150);
Here's what all these parameters mean:
Image name: The first parameter is the name of the image (not the filename, but the name of the JavaScript Image object).
Top left corner of source: The first job is to choose the part of the original picture that will be displayed. The next two parameters indicate the top left corner of a selection on the original picture. (You might use an image editor like Gimp or IrfanView to determine the selection position and size.)
Height and width of source: The next two parameters indicate the height and width of the source selection.
Position of destination: The next two parameters are the position of the picture's top left corner on the canvas.
Size of destination: The last two parameters describe the size of the destination image on the canvas.
The "draw only part of an image" technique described here is quite useful because it allows you to combine several images into a single image (sometimes called a sprite sheet). This decreases the overhead for delivering the image. It's also frequently used in games and animations where one entity might have several images displayed in sequence to suggest walking or attacking.