


Although most digital cameras come with their own software, Windows Vista has its own built-in wizard for downloading (or importing) images. (If your camera comes with its own downloading software, download your images with that program.) If your camera or card reader is supported within Windows Vista (check the manufacturer’s Web site or the specifications on the side of the box), you can use the Scanner and Camera Wizard to download images:
Connect the cable that came with your camera (or your external card reader) to the corresponding port on your PC.
This port is very likely your PC’s USB port. The Scanner and Camera Wizard screen appears when you plug in the USB cable from your camera.
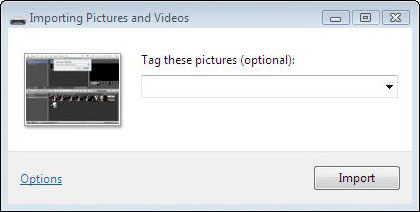
If you want to assign an optional tag to the images from this camera, click in the Tag These Pictures text box and type the description.
By default, Vista uses the tag you enter to name the images and videos when they’re imported. For example, if you enter the tag Fun Photos, the filenames are Fun Photos 001.jpg, Fun Photos 002.jpg, and so on.
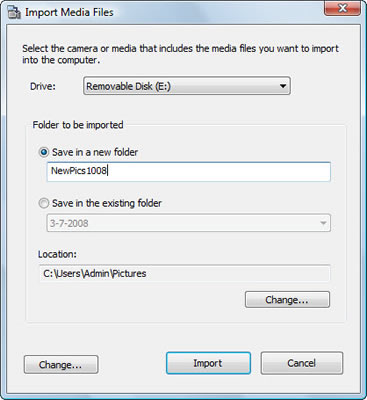
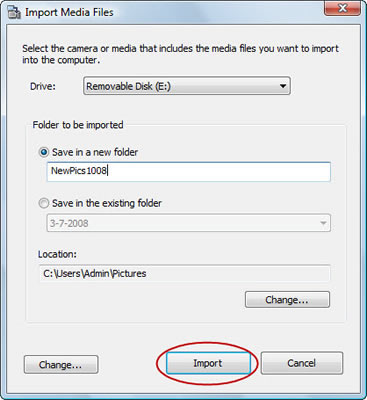
Click Import to begin downloading the images.
After the download is complete, Windows Vista automatically opens the Windows Photo Gallery with the photos you just downloaded in the pane on the right side of the window.

