
One of the date fields you can use in Word 2013 is PrintDate. This field reflects the current date (and time, if you like) that a document is printed. This may be a good idea for business documents, or any other purpose where you need the date recorded on the document. Here’s how it’s done:
Summon the Field dialog box by selecting Field from the Quick Parts drop-down in the Text group of the Insert tab.
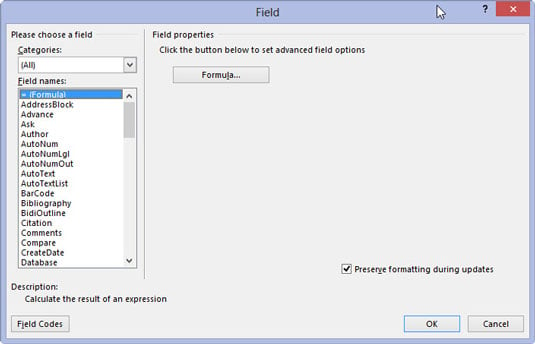
The field dialog box will appear. Look for the Categories drop-down list.
Select Date and Time from the Categories drop-down list.
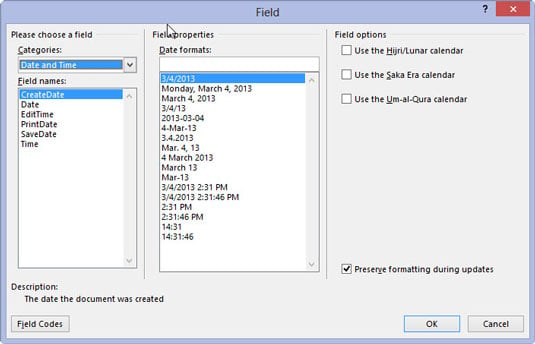
Use the mouse to select the Date and Time Category from the drip-down list.
Select PrintDate from the Field Names list.
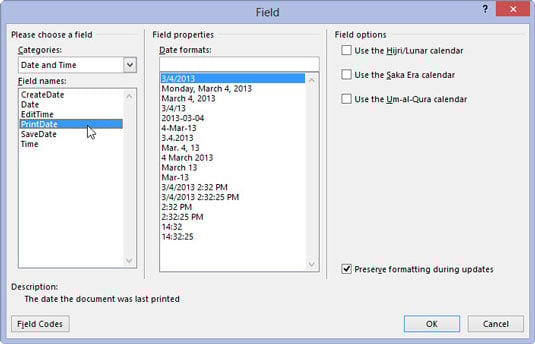
Once you have located the Field Names list, choose PrintDate.
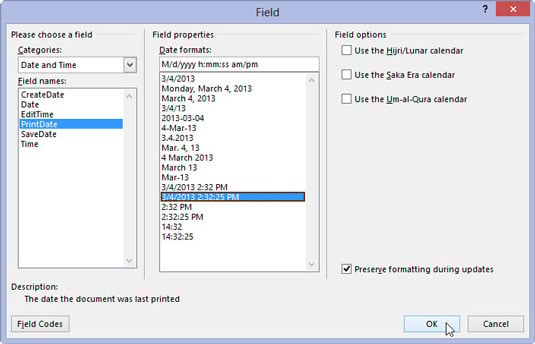
Choose a date-and-time format from the Field Properties area.

Choose the format that best suits your document.
Click OK.
The field looks gross until you print the document, which makes sense.
It’s a good idea to put the PrintDate field into the header of important documents, which lets people know the date the thing was printed. PrintDate works well for that purpose; the other fields in the Date and Time category are updated only when you manually refresh them.