You may need to create a set of mailing labels for everyone in your Outlook 2013 Contacts list in a flash. The list connects to Word’s Mail Merge feature, so you don’t have to mess around with exporting files and figuring out where they went.
Make sure you have the right labels in your printer. Then, follow these steps to create a set of mailing labels:
Click People in the Navigation pane.

Your list of contacts appears.
Click the Mail Merge button in the Ribbon (under the Home tab).

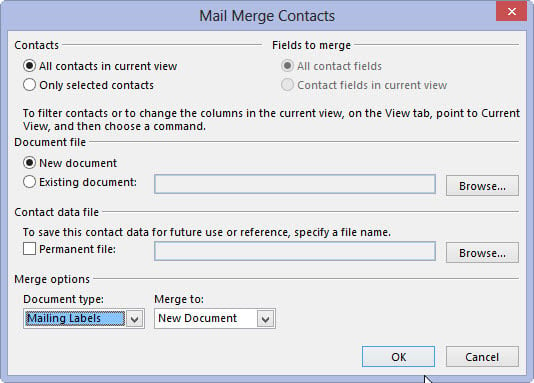
The Mail Merge Contacts dialog box appears.
In the Merge Options section, choose Mailing Labels from the Document Type list. Then choose New Document from the Merge To list.

New Document is usually already chosen, but check to be sure.
Click the OK button.
Microsoft Word opens a dialog box that tells you that Outlook has created a Mail Merge document, but that you have to click the Setup button in the Mail Merge Helper dialog box to set up your document.
Click the OK button.

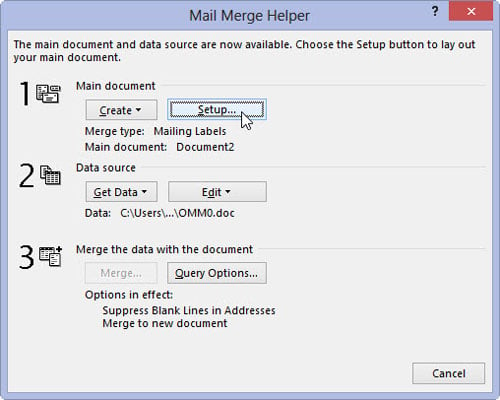
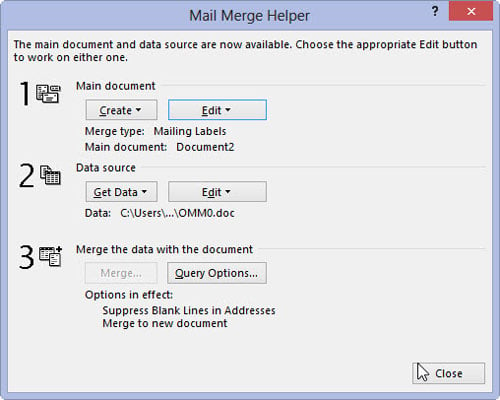
The Mail Merge Helper dialog box appears.
Click the Setup button.
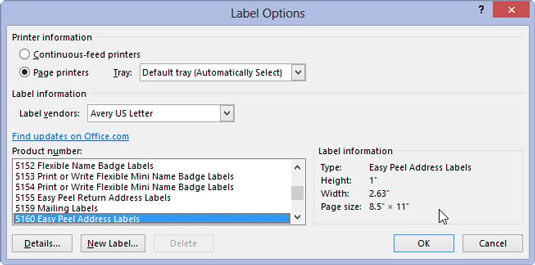
The Label Options dialog box appears.
Choose a Label Vendor from the drop-down menu. Choose an option in the Product Number drop-down menu.
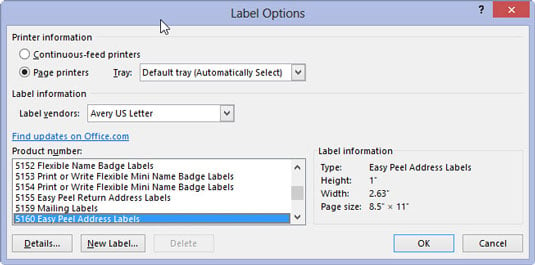
Check the stock number on your label and make sure that it’s the same as the one you’re choosing. If the stock number isn’t available, you can look at the label dimensions in the Label Information section of the Label Options dialog box.
Click OK.
The Label Options dialog box closes.
Click the Close button in the Mail Merge Helper dialog box.
The Mail Merge Helper dialog box closes.
Click the Address Block button in the Microsoft Word Ribbon.

The Insert Address Block dialog box appears to show you what will appear in the labels you’re about to create. Click OK to close the dialog box.
Click the Update Labels button in the Ribbon.

Now the <<AddressBlock>> code appears many times in your document, to show that Word knows how to fill your page of labels with addresses.
Click the Preview Results button in the Ribbon.

Word shows how your document will look when you print it. If you like what you see, go to the next step.
Click the Finish & Merge button in the Ribbon and select Edit Individual Documents.

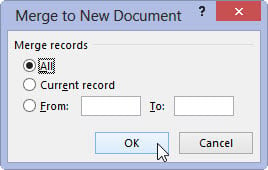
The Merge to New Document dialog box appears, allowing you to print all the addresses you see in your document, or just part of them. In most cases, you’ll choose All to print the whole range.
Click the OK button.
You’ve created your labels. Hold on, Mergey McMergerton: You aren’t done yet.
Click the File tab and choose Print to send your labels to the printer.