


Facebook Events is a great way to get people together virtually or in person to support your business, brand, or product. Events is also an economical way of getting the word out beyond your normal in-house marketing list by inviting fans of your Facebook Page or members of your Facebook group. Fans can also help you promote your Facebook event by sharing the event with a group of their friends when it’s valuable.
Facebook Events helps you with the fine points of creating and throwing your own event. Generally, Pages should list any event you’d normally post to your business Web site. After you create an event a time or two on Facebook, you can create events quickly and easily.
Click the Events tab on your business’s Facebook Page.
If this is your first event, you may need to click the + sign to access the Events tab.
Click the Create Event button in the upper-right corner to display the Create an Event page.
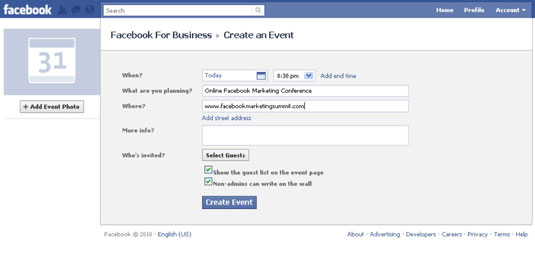
The Create an Event page appears.
Fill in the details about your event.
The Create an Event page asks you to fill in information about When, What Are You Planning, Where, and More Info. Use many rich keywords in the What Are You Planning and More Info boxes because Facebook events are indexed by search engines, which could mean extra traffic for your event.
Click the Select Guests button.
Inviting friends to the event isn’t mandatory; you can simply publish your event and hope for the best. However, Facebook makes inviting friends to your event so easy that it’s hard not to. Plus, it’s a good idea to get the ball rolling in your event to promote your business in some way.
In the Select Guests dialog box that appears, invite friends in any of the ways offered.
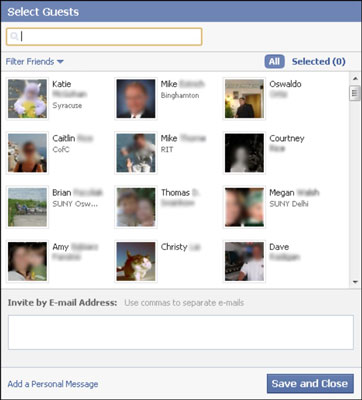
You can select friends directly from the filter list, search for friends by using the search text box on top of the list, invite an entire Friends List you created, and invite non-Facebook members to the event by typing their e-mail addresses (separated by commas) into the Invite by E-Mail Address box.
Click the Add a Personal Message link.
In the Add a Personal Message text box, provide something compelling for the reader and make sure the value that invitees can derive by coming to your event is front and center in your message. You can invite your first 100 people with this invite method.
Click Save and Close.
You return to the Create an Event page.
Select or deselect the remaining two options.
The Show the Guest List on the Event Page option allows the guest list to be seen. By selecting this check box, your guest list is visible on the event’s page. The Non-Admins Can Write on the Wall option allows invitees to write on the Wall. By selecting this check box, your guests can add their own content on the Wall.
Click the Add Event Photo button on the left side of the Create an Event page.
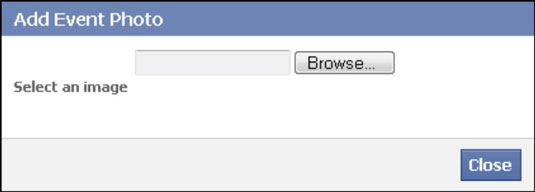
The Add Event Photo dialog box opens.
Click the Browse button to search your computer for a graphic file, select the picture that you want to use, and click the Close button.
Add a photo that best describes your event. Logos can be boring, so take the time to find an image that visually represents your event in a way that makes people want to attend.
You’re taken to the event page where you or your fans can dress up the event even more by adding comments photos, videos, and links to the event’s status update box.
After you enter all the pertinent details about your event, click the Create Event button.
Your event appears on your Wall.

