
Word 2013 gives you a quick way to print an envelope with every letter you create. You may have done this before and created a completely separate document for the envelope. When you follow these steps, the envelope will be embedded at the beginning of the document, so when you print the letter, you print the envelope too.
Type your letter and select the recipient’s address in the letter.
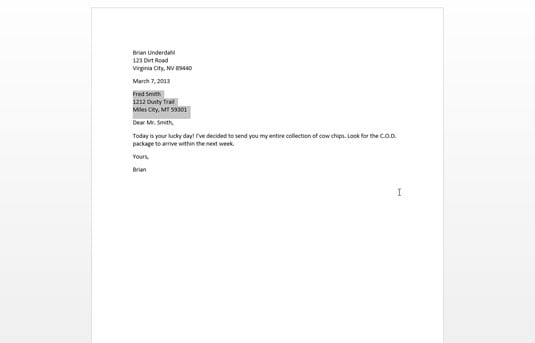
To select, you can click at the beginning, hold the button down, and drag to the end of the address. If you are more comfortable with an alternative way of selecting, use it! It doesn’t matter how it gets selected.
Click the Envelopes button on the Mailings tab.

The Envelopes and Labels dialogue box appears.
If the recipient’s address doesn’t appear in the Delivery Address box, type the address.
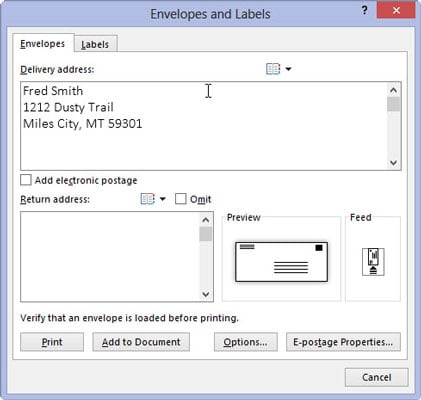
When you select the address in the document, it will appear automatically. If your document doesn’t have an address on it, you can put the address for the envelope in at this time. This is a good time to do a quick review to make sure the address is correct.
Click the Add to Document button.
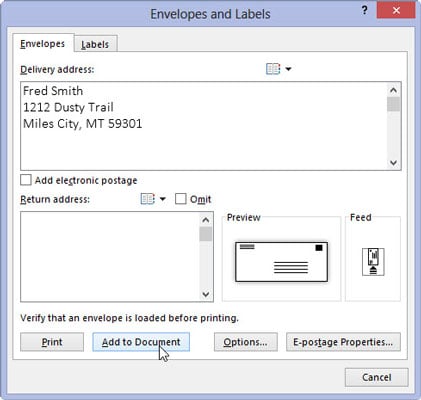
This will add the address to the envelope.
Type the return address on the envelope.
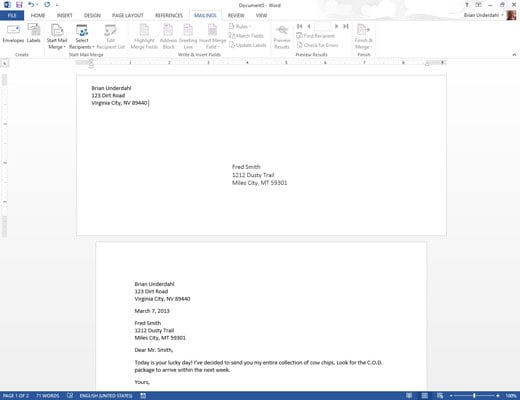
It may not be obvious on the screen, but the first page of your letter is now an envelope. When you’re ready to print the letter, the envelope is printed first and then the letter. All you have to do is stuff the letter into the envelope and seal it and then apply the increasingly costly postage.
Most printers prompt you to manually enter envelopes if that’s what they want you to do. After doing so, you may have to press the Ready, On-line, or Select button for the printer to continue.
When typing an address, use soft returns to break up the lines: Press Shift+Enter at the end of a line. That keeps the address tight.
Check the envelope as you insert it into your printer to ensure that you didn’t address its backside or put the address on upside down.
If you have trouble remembering which way the envelope feeds into your printer, draw a picture of the proper way and tape it to the top of your printer for reference.