
A transition is how PowerPoint 2013 gets from one slide to the next during an onscreen slide show. The normal way to segue from slide to slide is simply cutting to the new slide — effective, yes, but also boring. PowerPoint enables you to assign any of the more than 50 different special effects to each slide transition.
For example, you can have the next slide scoot over the top of the current slide from any direction, or you can have the current slide scoot off the screen in any direction to reveal the next slide. You can have slides fade out, dissolve into each other, open up like Venetian blinds, or spin in like spokes on a wheel.
To create a slide transition, follow these steps:
Move to the slide to which you want to apply the transition.
Note that the transition applies when you come to the slide you apply the transition to, not when you go to the next slide. For example, if you apply a transition to slide 3, the transition is displayed when you move from slide 2 to slide 3, not when you move from slide 3 to slide 4.
If you want to apply the animation scheme to all your slides, you can skip this step because it won’t matter which slide you start from.
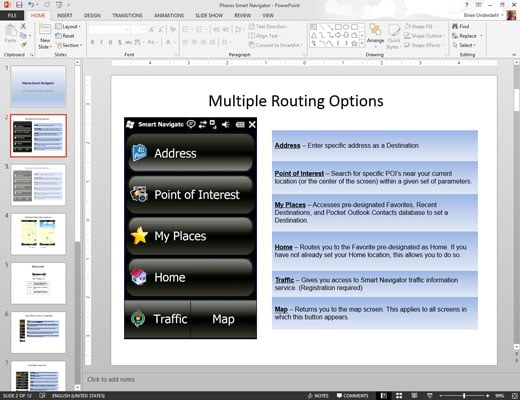
Select the transition you want to apply from the Transition to This Slide section of the Transitions tab on the Ribbon.

If you want, you can display the complete gallery of transition effects by clicking the More button at the bottom right of the mini-gallery of transition effects displayed within the Ribbon.
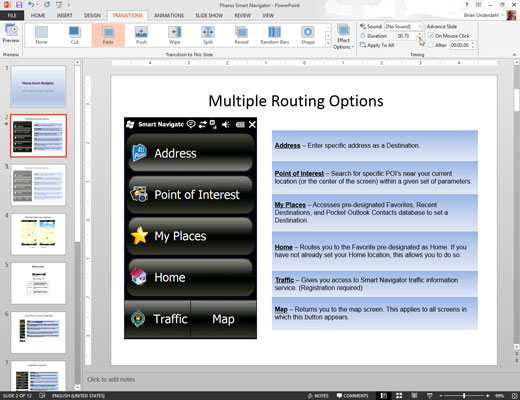
Note that when you select a transition, PowerPoint previews the transition by animating the current slide. If you want to see the preview again, just click the transition again.
Use the Effect Options drop-down list to select a variation of the transition effect you selected in Step 2.
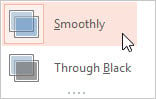
The available variations depend on the transition you’ve chosen.
If you want, use the Sound drop-down list to apply a sound effect.

The Sound drop-down list lists a collection of standard transition sounds, such as applause, a cash register, and the standard whoosh. You can also choose Other Sound to use your own .wav file.
Use the Duration drop-down list to control how fast the transition should proceed.
The default is 1 second, but you can specify a slower or faster speed if you want.
Use the On Mouse Click or After options to indicate how the transition should be triggered.

If you want to control the pace of the slide show yourself, select the On Mouse Click check box. Then, the slide will remain visible until you click the mouse. If you want the slide to advance automatically after a delay, select the After check box and specify the time delay.
To apply the animation to the entire presentation, click Apply to All. This applies the animation to all the slides in the presentation.