


From the top navigation bar, hover your mouse over the Interests link and then click the Groups link in the drop-down list that appears.
You see your Groups page, with the main section and a Create a Group button along the right side of the screen.
Click the Create a Group button.
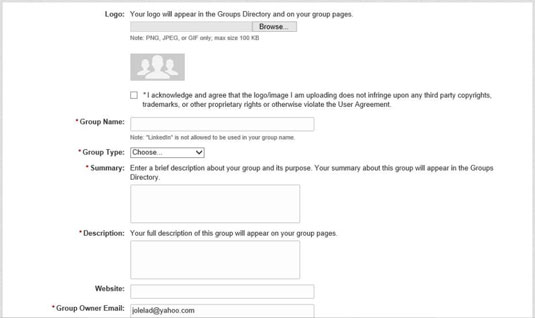
This step brings you to the Create a Group page. This is where you input all the information about your newly requested group.
Upload the logo for your group.
LinkedIn requires a logo. The file format must be PNG, JPEG, or GIF, and the memory size of the logo cannot exceed 100KB. Click the Browse button next to the logo box. In the Choose File dialog box that opens, locate the logo file on your computer so LinkedIn can upload it; then click Open.
“But where do I get a logo?” you might ask. Well, there are many sites, such as www.logoworks.com or www.canva.com, where you can design your own logo.
If a logo already exists, like for an alumni association, ask one of the administrators for a high-resolution copy of the logo, or save a copy of the logo from the group’s personal website — as long as you know you have the rights to use that image.
Your logo can’t exceed 100KB, so watch that file size as you create your logo.
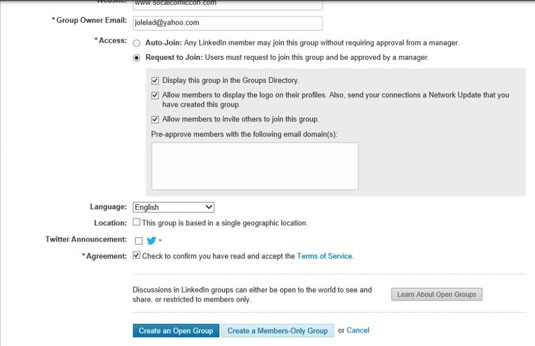
Provide your group information and settings, including group name, summary, description, type, website URL, manager e-mail, whether you want people to automatically have access to join or be pre-approved by you or another manager, and whether you want your group visible on your member's profile pages.
You have only 300 characters in your group summary, so choose your words wisely.
If you’re wondering what to write for your group description, search for similar groups using the search box at the top of the page and read through similar groups in your group type. Then, go back to the Create a Group page and enter your description. (If you check other group descriptions while writing your description, you’ll lose whatever you typed.)
If your group is located in one geographic region, select the appropriate check box.
This is important for networking with other members in the same area.
Read through the Terms of Service and then select that check box.
At this point, you should see a page where your logos and information are uploaded and ready for review.
Click the Create a Group button to create your group on LinkedIn.
If you want your group discussions to be visible to everyone, click the Create an Open Group button. If you want your group discussions to be visible only to members, click the Create a Members-Only Group button. Either way, after you click that button, you’re taken to the newly created home page for your new group, and your request is submitted.
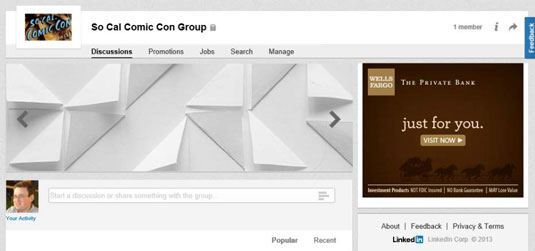
You should see your newly created group page. Your new group is ready for members!

