Here's how to use the Bézier path to create a curved segment. You might not love this process — not at first, anyway. But after you know how to use a Bézier path, you’ll likely find it useful. To create a Bézier path, follow these steps:
Starting with a blank artboard, select the Pen tool and click the artboard anywhere to place the first anchor point.
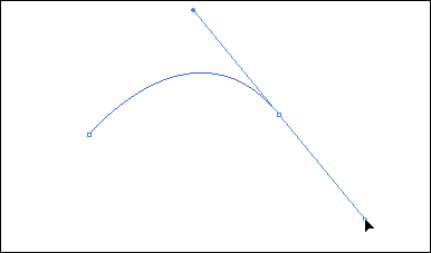
Click someplace else to place the ending anchor point — don’t let go of the mouse button — and then drag the cursor until a direction line appears.
If you look closely, you see that anchor points are square and that direction lines have circles at the end, as shown in this figure.
 Click and drag with the Pen tool to create a curved path.
Drag the direction line closer to the anchor point to flatten the curve; drag farther away from the anchor point to increase the curve, as shown in Figure 5-4.
When you’re happy with the curve, release the mouse button.
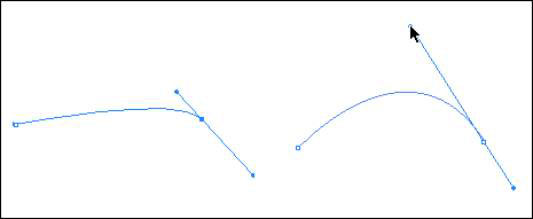 Adding curve to the curve.
You’ve created an open path, or a path that doesn’t form a closed shape. Here's how to reconnect to the starting point of the path to make a closed shape.
To alter a curved segment after you create it, follow these steps:
Choose Select→Deselect to ensure that no objects are selected.
Choose the Direct Selection tool and click the last anchor point created.
If the direction lines aren’t already visible, they appear.
If you have difficulty selecting the anchor point, drag a marquee around it with the Direct Selection tool.
Click precisely at the end of one of the direction lines; drag the direction line to change the curve.