
Microsoft Word 2008 for Mac is, of course, a word processor, but it also offers you some control over how you can make images look in your documents. Using Word’s basic tools, you can change the size and appearance of images you insert into your documents.
To modify an image in your document, click the image in your document to select it.
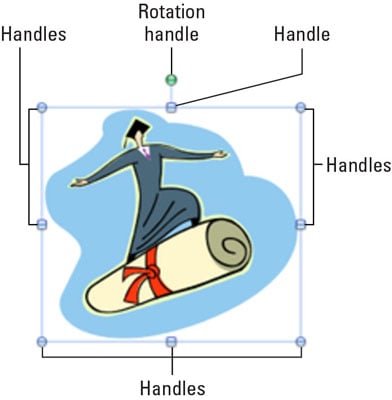
When an image is selected, it displays handles on each corner and in the middle of each side. It also displays a green rotation handle that extends from the middle handle on the top side.
Click and drag any of the handles to stretch or shrink your image.
If you drag a corner handle, the aspect ratio remains the same, and the height and width change simultaneously. If you drag one of the handles in the middle of a side, the image stretches or shrinks in that direction only. You can make additional image modifications in the Format Picture dialog.
With the image you want to modify still selected, choose Format→Picture.
Or you can double-click the image to open it. Either way, the Format Picture dialog appears.
Select your image and click the screen you want from the list on the left.
The Format Picture dialog offers 11 different screens: Fill, Line, Shadow, Glow & Soft Edges, Reflection, 3-D Format, 3-D Rotation, Picture, Text Box, Size, and Layout. Not all of these screens are appropriate for all pictures. So, don’t be alarmed if some of them don’t appear to do anything to your image.
Continue making your changes until you’re finished and then click OK.
The changes made in the Format Picture dialog are displayed immediately.