

Calibration refers to the proper alignment of the inkjet cartridge nozzles to the paper and each other; without a properly calibrated printer, your print quality degrades. You’ll want to calibrate your printer when you see lines appearing fuzzy in artwork or when colored areas in printed images start or stop before they should.
Although each brand (and sometimes each model) of printer has different on-screen controls for calibrating output, you should be able to access them from the printer’s Properties dialog box:
Choose Start→Printers and Faxes to open a window with the available printers on your system.
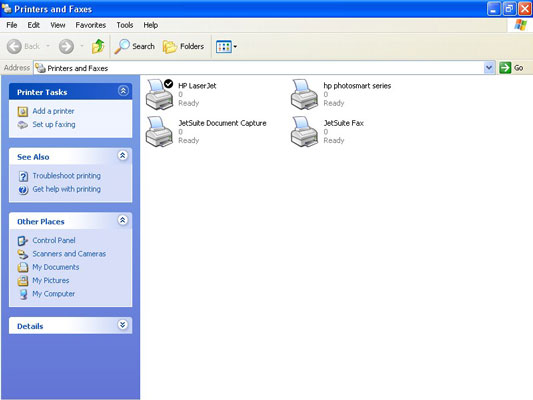
Or choose Start→Settings→Printers and Faxes, depending on how your Start menu is configured.
Right-click the printer you want to calibrate and then choose Properties from the pop-up menu that appears.
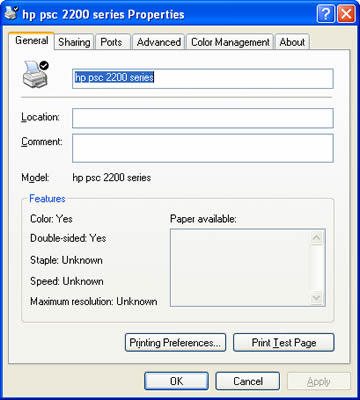
The Properties dialog box appears.
Locate your printer’s calibration function.
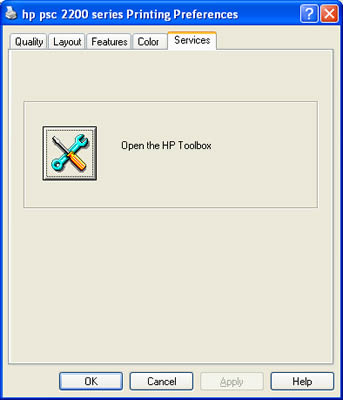
If it isn’t visible from the General tab, you might have to search for it on the Advanced tab. You can try clicking the Printing Preferences button, as well. If all else fails, check your printer manual for the location of the calibration controls.
Run the calibration.
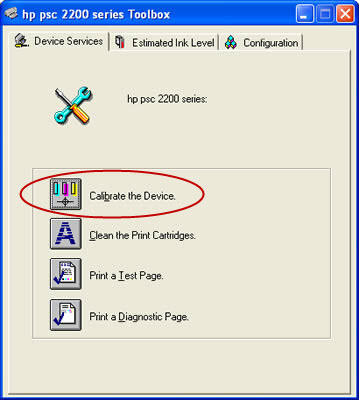
You probably need to click a button labeled something like Calibrate. The calibration process takes less than a minute and uses a single sheet of paper.

