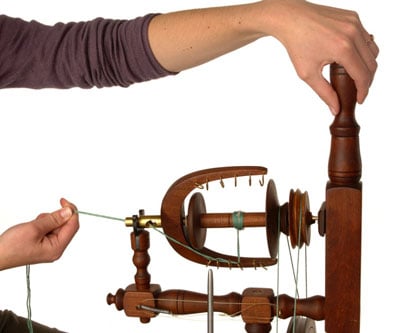
A spinning wheel is an extension of your body and needs to be adjusted to you. Every wheel spins differently. As you spin on your wheel, you can adjust it to fit your style of spinning. Remember to make all of the adjustments gently, moving the pegs a fraction of an inch at a time. Keep the wheel spinning while you adjust it, listening to the sounds that the wheel makes, and paying attention to how it feels:
Put on the drive band
Instructions for the drive band differ depending on the type of drive you have:
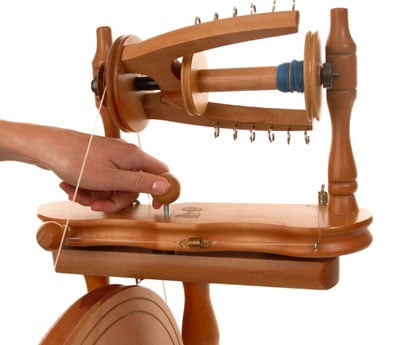
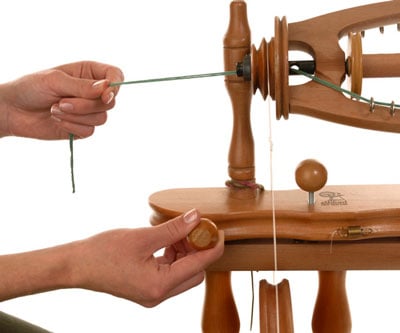
Single drive: Place the drive band on the whorl (put it on the middle-sized whorl if your wheel has more than one). If the wheel has a scotch brake, make sure that the scotch brake is in place.
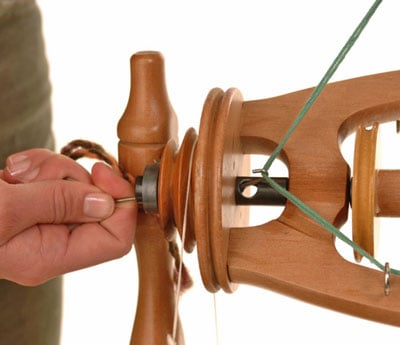
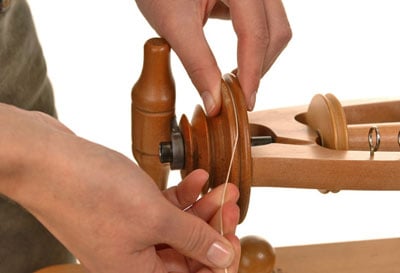 Here the spinner moves from the largest whorl to the middle whorl on a three-whorl flyer.
For bobbin-driven wheels, place the drive band on the bobbin. This type of wheel has a brake on the flyer, and you should make sure that it is in place.
Double drive: Place one loop of the drive band over the bobbin and one loop over the whorl. On a double-drive wheel, the flyer whorl must always be larger than the bobbin whorl. If the two whorls are similar in size, the yarn will not wind on the bobbin.
Adjust the drive band tension
Take all of the tension, including the scotch brake, off the wheel. When you treadle, the wheel should turn while the flyer stays still. Keep tightening the drive band tension until you hear a whooshing sound from the drive band. That is the sound of the drive band skipping. The flyer should start to barely turn; tighten it just until that sound goes away. Do not put more tension on the drive band unless you hear that sound again.
Put on a bobbin
If you have the wheel-maker’s instructions, it should tell you how to replace the bobbin. If you do not have the instructions, every wheel should have some way to take the flyer off so that you can replace the bobbin.
Take the flyer off.
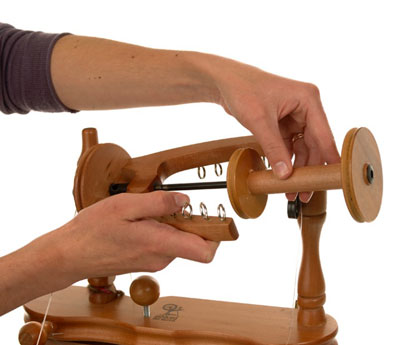
If it has whorls screwed to the end of the shaft, take them off as well.
Slip the bobbin on the shaft, and make sure that it turns easily. Replace the whorls and the flyer.
Make sure that the maidens are at right angles to the mother-of-all.
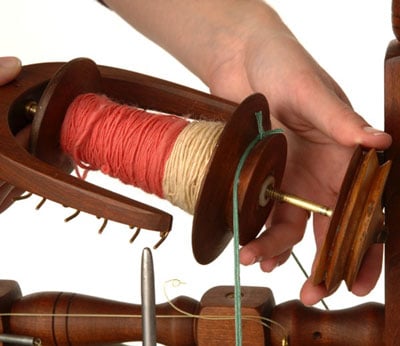
Some bobbins are designed to be used with either double-drive or single-drive wheels. They have a groove for the drive band (also called a whorl) on either end. One end should have a small whorl, and the other end should have a much bigger one. Remember to put the drive band on the big end of bobbin if you are using a scotch brake, and on the small end if you are using a double drive. The wheel should still work if you put them on the wrong way, but it will not work well.
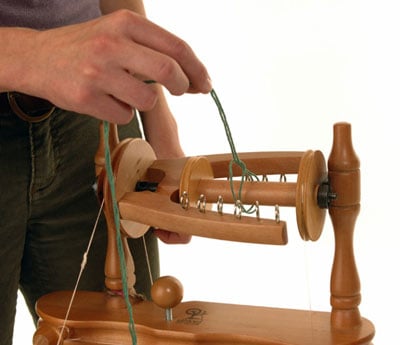
Attach the leader
The leader is attached to the bobbin with a lark’s-head on a bight knot. This simple knot stays tight, no matter which way the wheel turns. Follow these steps to make the lark’s-head on a bight knot around the bobbin.
Fold the 20-inch length of yarn in half.
Use a plied yarn or the yarn will come apart when the wheel rotates.
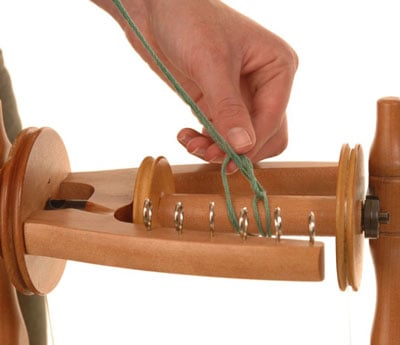
Pass it around the bobbin.
Put the loose ends through the loop and tighten.
Loop it again around the bobbin in the opposite direction and pass the loose ends through the loop. Pull tight.
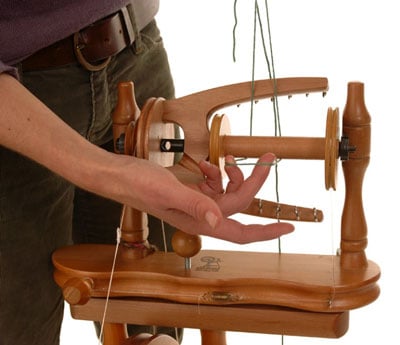
Thread the leader over the hooks and through the orifice with the orifice hooks.
You should bend your orifice hook. The curved shape makes it easier to pick up the yarn as it comes through the orifice.
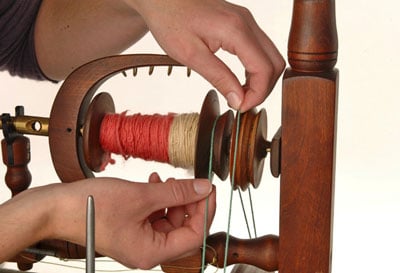
Adjust the bobbin tension
No matter what type of wheel you are using, there should be a way to tension the bobbin. Tension on the bobbin makes the yarn feed either more quickly or more slowly onto the wheel:
On bobbin-driven wheels like the Louet, the tension can be changed on the bobbin by increasing or decreasing the drive band tension, and the flyer tension gives finer control.
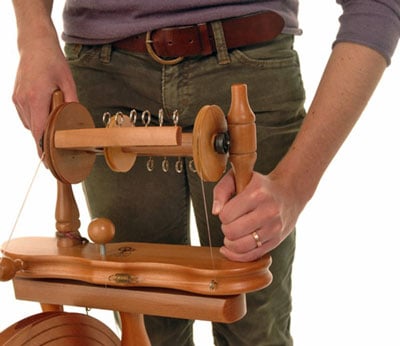
On a single drive: Hold on to the leader with the fiber hand. The spinning hand makes all of the adjustments to the wheel. Now treadle the wheel.
If the leader pulls out of your hand, then loosen the scotch brake by loosening it. If the leader feels like you have to push it on the wheel, adjust tighten the brake.
On a double drive: The adjustments for the drive band and the bobbin are made using the same tension device; when you tension one, you tension both of them. Although this is not as precise as the scotch brake, you always have the same ratio between the bobbin and the flyer.