


PowerPoint 2013 includes a nifty feature that lets you record the timings for each slide and for each animation element (such as bullet points appearing). At the same time, you can record your own voice to use as a narration for the presentation.
To record the timings, you essentially rehearse the presentation as if you were giving it to an audience. PowerPoint keeps track of the time between each mouse click or other action and records those timings along with the presentation.
As for the narration, you simply speak your narration into a microphone, and PowerPoint attaches your recorded voice to each slide. Then, when you play back the presentation, the slides are automatically synchronized with the narrations you recorded.
Note that you can also record PowerPoint’s built-in laser pointer. Then, when you play back the show or create a video, the pointer will dance across the screen automatically!
To record timings and narration, first plug a microphone into your computer’s microphone input jack. Then, open the presentation and follow these steps:
Open the Slide Show tab, choose Record Slide Show and then choose Start Recording from Beginning.
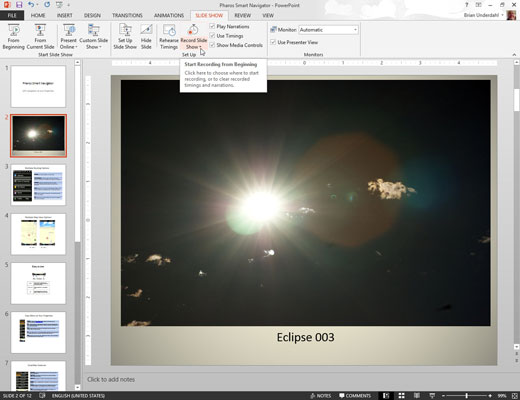
The Record Slide Show dialog box appears. This dialog box simply asks whether you want to record slide timings or narration.
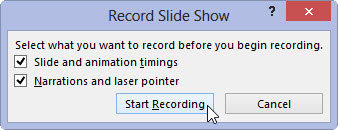
To record slide timings, select the Slide and Animation Timings check box. To record narrations and the laser pointer, select the Narrations and Laser Pointer check box.
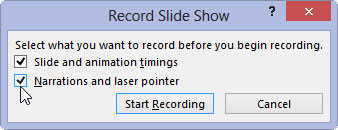
You’ll almost always want to select the Slide and Animation Timings check box. Select the Narrations and Laser Pointer check box only if you want to add your voice narration, the laser pointer, or both.
If you don’t want to record a narration but you would still like the laser pointer to appear in your final video, select the Narrations and Laser Pointer check box. Then, in Step 4, just skip the part about speaking into the microphone.
Click Start Recording to begin recording the slide show.
The first slide of your presentation is displayed, and a small toolbar titled Record Slide Show is displayed.
Speak your narration into the microphone.
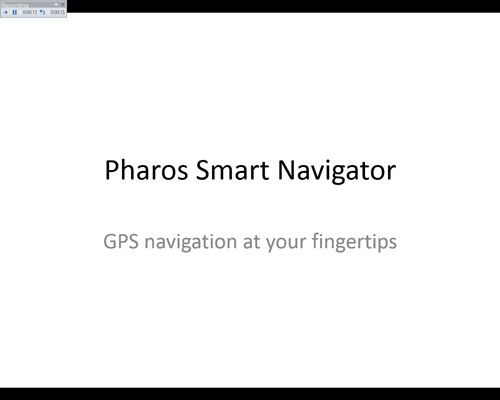
Press Enter or click the mouse button each time you want to advance to a new slide or call up a new animation element (such as a bullet point).
If you want to use the laser pointer on a slide, hold down the Ctrl key and then click and hold the mouse button and use the mouse to control the laser pointer.
When you release the mouse button, the laser pointer disappears.
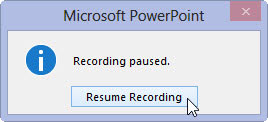
If you need to pause the recording at any time, click the Pause button that appears in the Record Slide Show toolbar.
The recording is suspended, and a dialog box appears with a button that lets you resume the recording. When you’re ready to continue, click this button.
When you’re finished recording, press Esc.
PowerPoint ends the recording and switches to Slide Sorter View, which displays the timings associated with each slide.
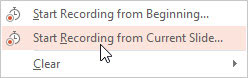
If you messed up on any slide, select that slide, click Record Slide Show, and then choose Start Recording from Current Slide.
Then re-record the timings and narration for that slide. Press Esc to stop recording.
You can re-record more than one slide in this way; just press Enter or click the mouse to advance through all the slides you want to re-record. Press Esc to stop recording.
Press F5 or click the Slide Show button on the right side of the status bar to begin the slide show so you can see whether your narration works.
The slide show begins. The narration plays through your computer’s speakers, and the slides advance automatically along with the narration. The laser pointer should also appear if you used it during the recording.


