There are so many things you can do with the GoPro camera, but unlike conventional camcorders or cameras, it’s important to get familiar with your GoPro from the time you remove it from the package to when you download your movies and still photographs. Setting up your GoPro takes a few minutes (not counting battery-charging time) but is pretty easy.
Take all the pieces out of the box (such as the battery, mounts, and rings) and lay them out, as shown here.
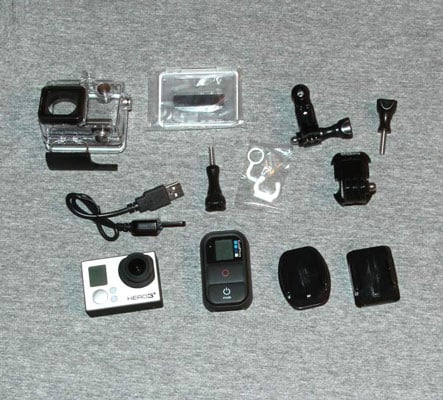
One very important piece doesn’t come with the camera: the microSD card. Guess what? The camera won’t work without it. Ideally, you purchased one when you bought your GoPro. If not, get one before you set up your camera.
Take off the GoPro’s protective waterproof housing.
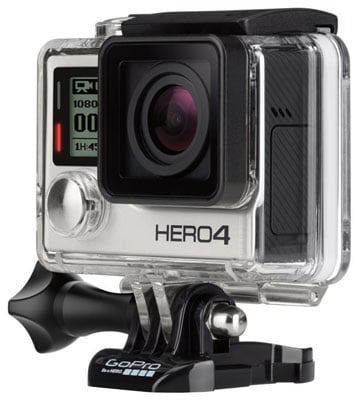
Like a turtle uses it shell for protection, so does the GoPro. But you need to take the GoPro out of its case to set it up. Pull the black latch on the top front of the camera. You’ll need to pull it back hard because it locks in place. Lift the latch and pull out the camera.
Put the battery in the camera.
Slide off the battery door, place the battery inside the camera, and put the door back on. The battery comes partially charged and can be used right out of the box, but it’s a good idea to charge it fully (see Step 4).
Load the microSD memory card.
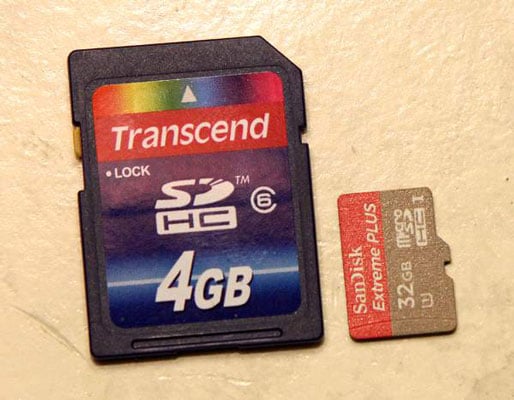
The door on the side of the camera slides off. Push the tiny card into the card slot until it locks in place. Then slide the door back on.
Charge the camera.
Plug one end of the charger cable (the one with the mini USB plug) into the camera and the other end into your computer or USB power supply. While the camera is charging, the LED lights turn on; when the camera is fully charged, they go off.
Because the camera uses a USB mini connector, those old cell phone chargers used by BlackBerry and others work perfectly with charging the camera. So take them out of the drawer when you need an AC charger for your camera.
Charge the remote by using the other charger cable.
That is, if the model you purchased comes with a remote.
Power up the camera.
Press the Power/Mode button. The LED indicators blink, and the camera beeps three times.
Shoot some video.
Once your camera is charged, you’re ready to start recording. The video mode is the default mode when you turn on the camera. Press the Shutter/Select button to record video; press it again to pause it.
Take a still photo.
Press the Power/Mode button to find the Photo button, which looks like a camera. You can also pick other still photo choices like Burst Photo and Time Lapse.