From the Control Panel, choose Ease of Access→Start Speech Recognition.
The Welcome to Speech Recognition message appears.
Click Next to continue.
If you’ve used Speech Recognition before, this message does not appear.)
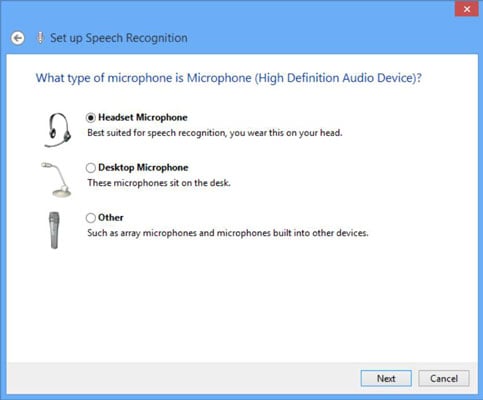
In the resulting Set Up Speech Recognition dialog box, select the type of microphone that you’re using and then click Next.
The next screen tells you how to place and use the microphone for optimum results. Read the message and click Next.
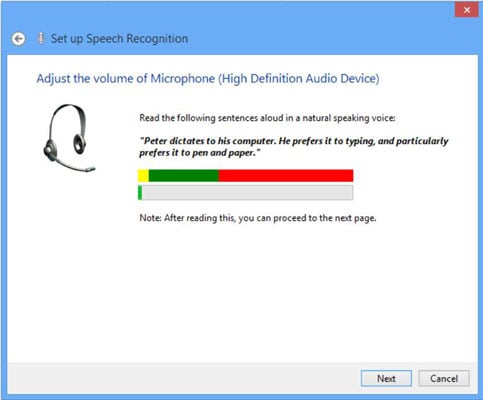
In the dialog box that appears, read the sample sentence aloud to help train Speech Recognition to your voice. When you’re done, click Next.
A dialog box appears, telling you that your microphone is now set up. Click Next. During the Speech Recognition setup procedure, you are given the option of printing out commonly used commands. It’s a good idea to do this, as speech commands aren’t always second nature!
In the resulting dialog box, choose whether to enable or disable document review, which allows Windows to review your documents and e-mail to help it recognize the way you typically phrase things. Click Next.
A dialog box will appear.
In the next dialog box, choose either Manual Activation mode, where you can use a mouse, pen, or keyboard to turn the feature on; or Voice Activation mode.
Voice Activation mode is useful you have difficulty manipulating devices because of conditions such as arthritis or a hand injury. Click Next.
In the resulting screen, if you wish to view and/or print a list of speech recognition commands, click the View Reference Sheet button and read about or print reference information, and then click the Close button to close that window. Click Next to proceed.
In the resulting dialog box, either leave the default setting of running speech recognition selected when you start up, or click the Run Speech Recognition at Startup check box to disable this feature.
Click Next.
The final dialog box informs you that you can now control the laptop by voice, and it offers you a Start Tutorial button to help you practice voice commands. Click that button, or click Skip Tutorial to skip the tutorial and leave the Speech Recognition setup.
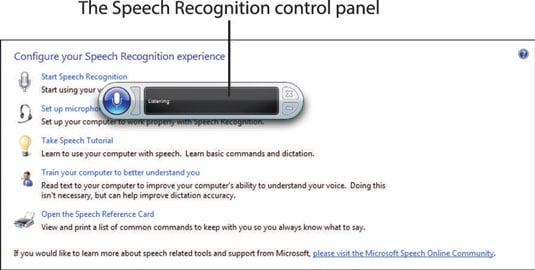
The Speech Recognition control panel appears. Say “Start listening” to activate the feature if you used voice activation in Step 7, or click the Start Speech Recognition button (it looks like a microphone) if you chose manual activation in Step 7. You can now begin using spoken commands to work with your laptop.
To stop Speech Recognition, click the Close button on the Speech Recognition Control Panel. To start the Speech Recognition feature again, from the Control Panel choose Ease of Access and then click the Start Speech Recognition link. To learn more about Speech Recognition commands, click Speech Recognition from the Ease of Access panel and then click the Take Speech Tutorial link in the Speech Recognition Options window.